Muffler

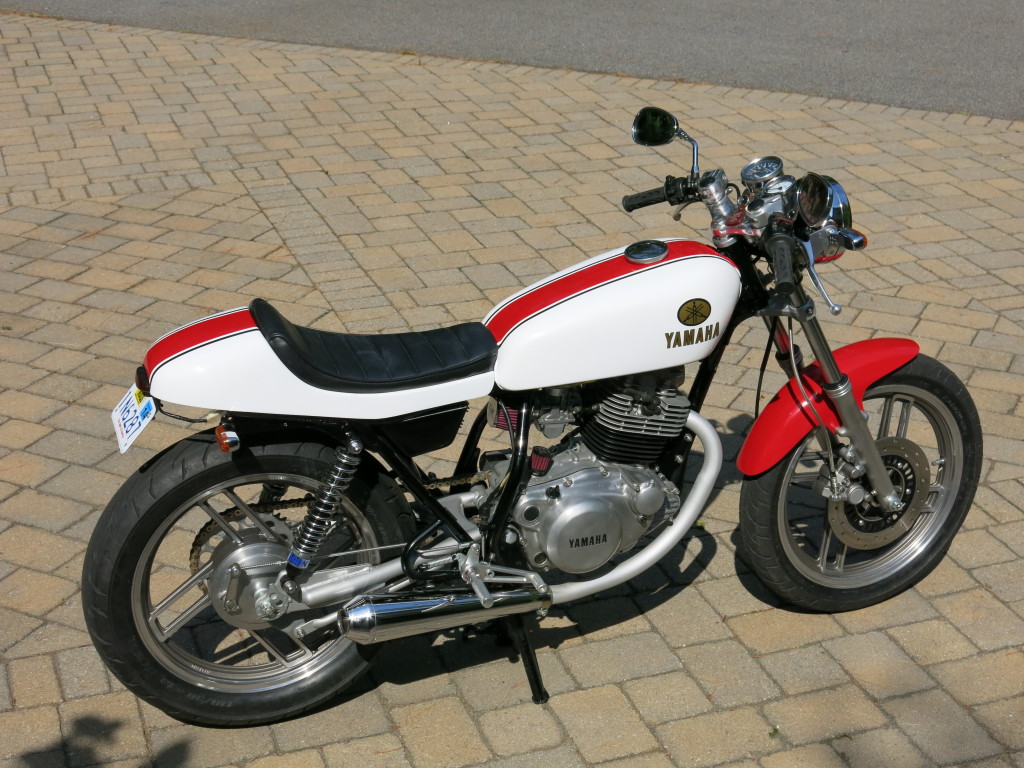
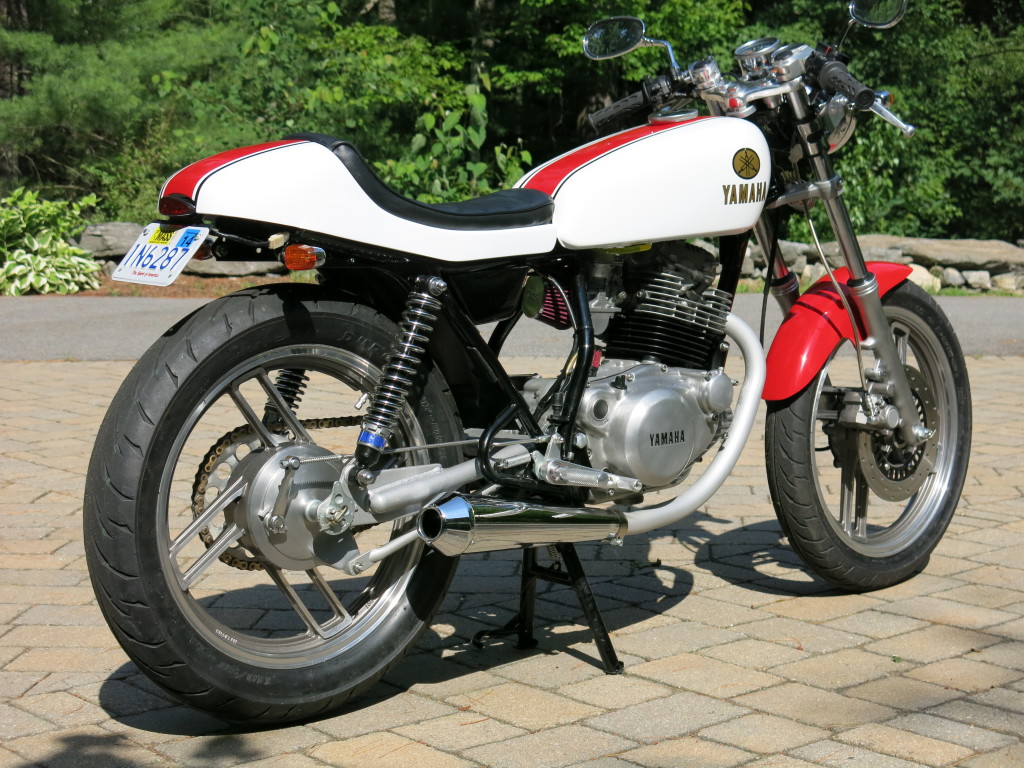
The Emgo Muffler I’m using came from Dime City Cycles.

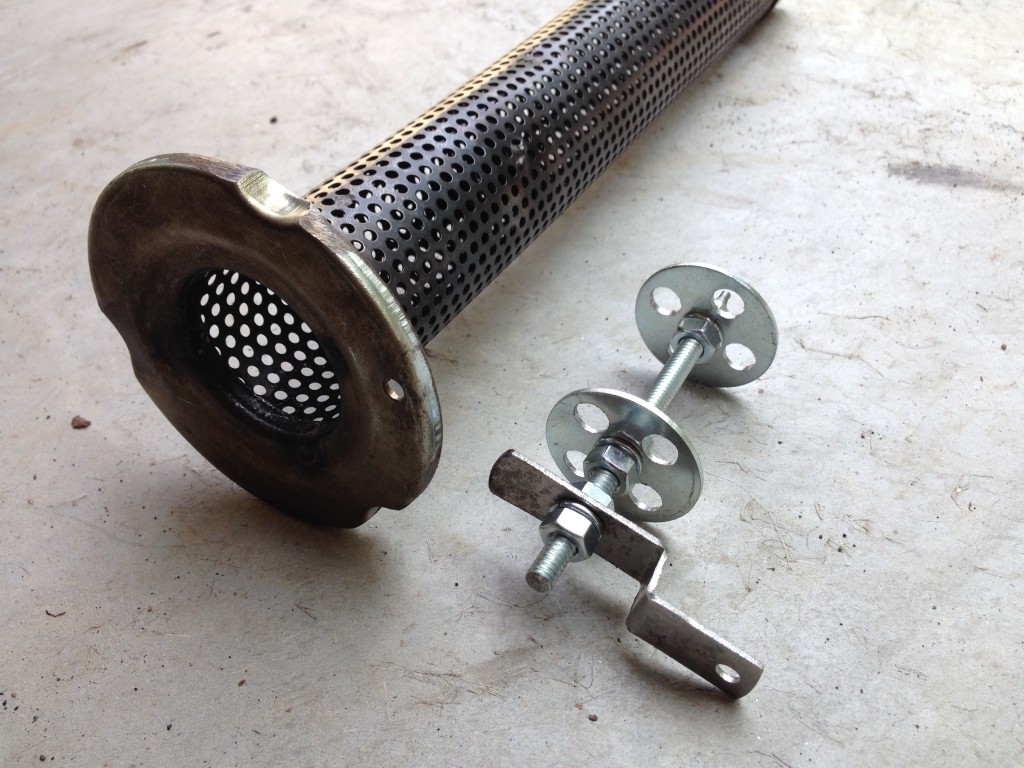
The bike was surprisingly loud the first time I started it. I removed the baffle and discovered there was just a small thin piece of fiberglass packing around it. I rewrapped the baffle with thicker packing. This brought the sounds down a bit, but I thought it was still too loud.

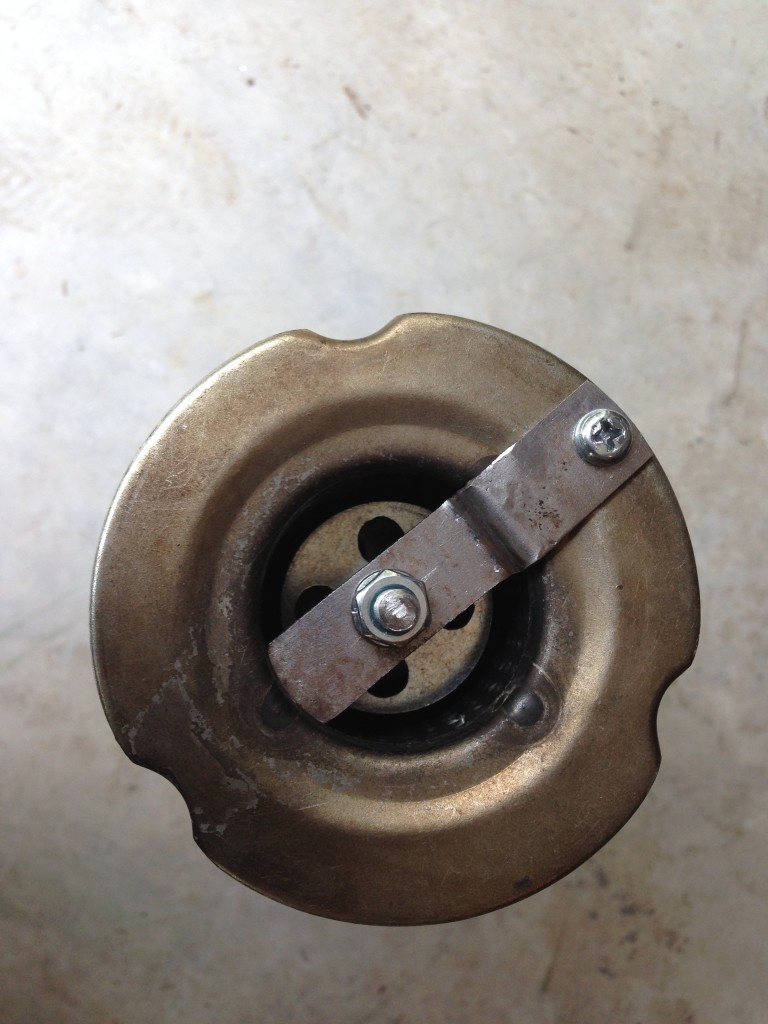
I added a homemade restricter to the baffle. It’s helped bring down the volume a bit more. The change was not dramatic. I’m going to try adding more washers, perhaps alternating the 1 1/2″ drilled washers with 1 1/4″ undrilled ones. The stepped bracket helps keep the restricter centered without drilling additional holes in the baffle.

Instrument Panel Redo

Started assembling the bike and discovered it’s impossible to get the clutch cable past the instrument panel. I wound up reworking the mounting bracket. The speedo and tach had to be moved away from the handlebars about 3/4″. The standoffs for the led panel had to be relocated. The headlight brackets had to be remade longer. Lastly, the LED panel was redesigned to allow for the clutch cable and fill the space created by moving the instruments.

Battery Box

The original lead acid battery took up much of the space in the frame triangle. The Li battery is still a tight fit. It is shoe horned into the frame parallel with the rear fender.

I tried using latex paint and mold release spray on the styrofoam before applying fiberglass. This does not work as well as masking tape and butcher’s wax. The paint stuck to the fiberglass. Next time, I’ll try latex paint and wax.

Paint

After finding replica tank decals like the ones used on Yamaha’s road racers of the 1970’s, I decided to paint the bike using a similar scheme; white with a red stripe and fender. I decided to add a black pin stripe because I’d seen it elsewhere and liked it. The decals are from the eBay store of Speed & Sport Vintage.

The photos show the results of my first attempt at painting the parts using automotive 2K paint. The crinkling is a result of not following the instructions and allowing enough “flash time” between coats. The other major mistake was attempting to mask the tank and seat separately. The stripes are the same width, but are not aligned between the seat and tank.

I first primed the tank using gray Dupont Nason Primer. After sanding, I applied several coats of Pepsi White. It took at least 4 coats to get the white to cover the gray primer. I picked Pepsi white because it’s the base for mimicking the pearl white on a FZR400. I though it too gray as the primary color the SR250 and headed back to the paint store. After looking all of they myriad of whites that are available, I ultimately settled on the white base that is used as the starting point when mixing any of the other whites.