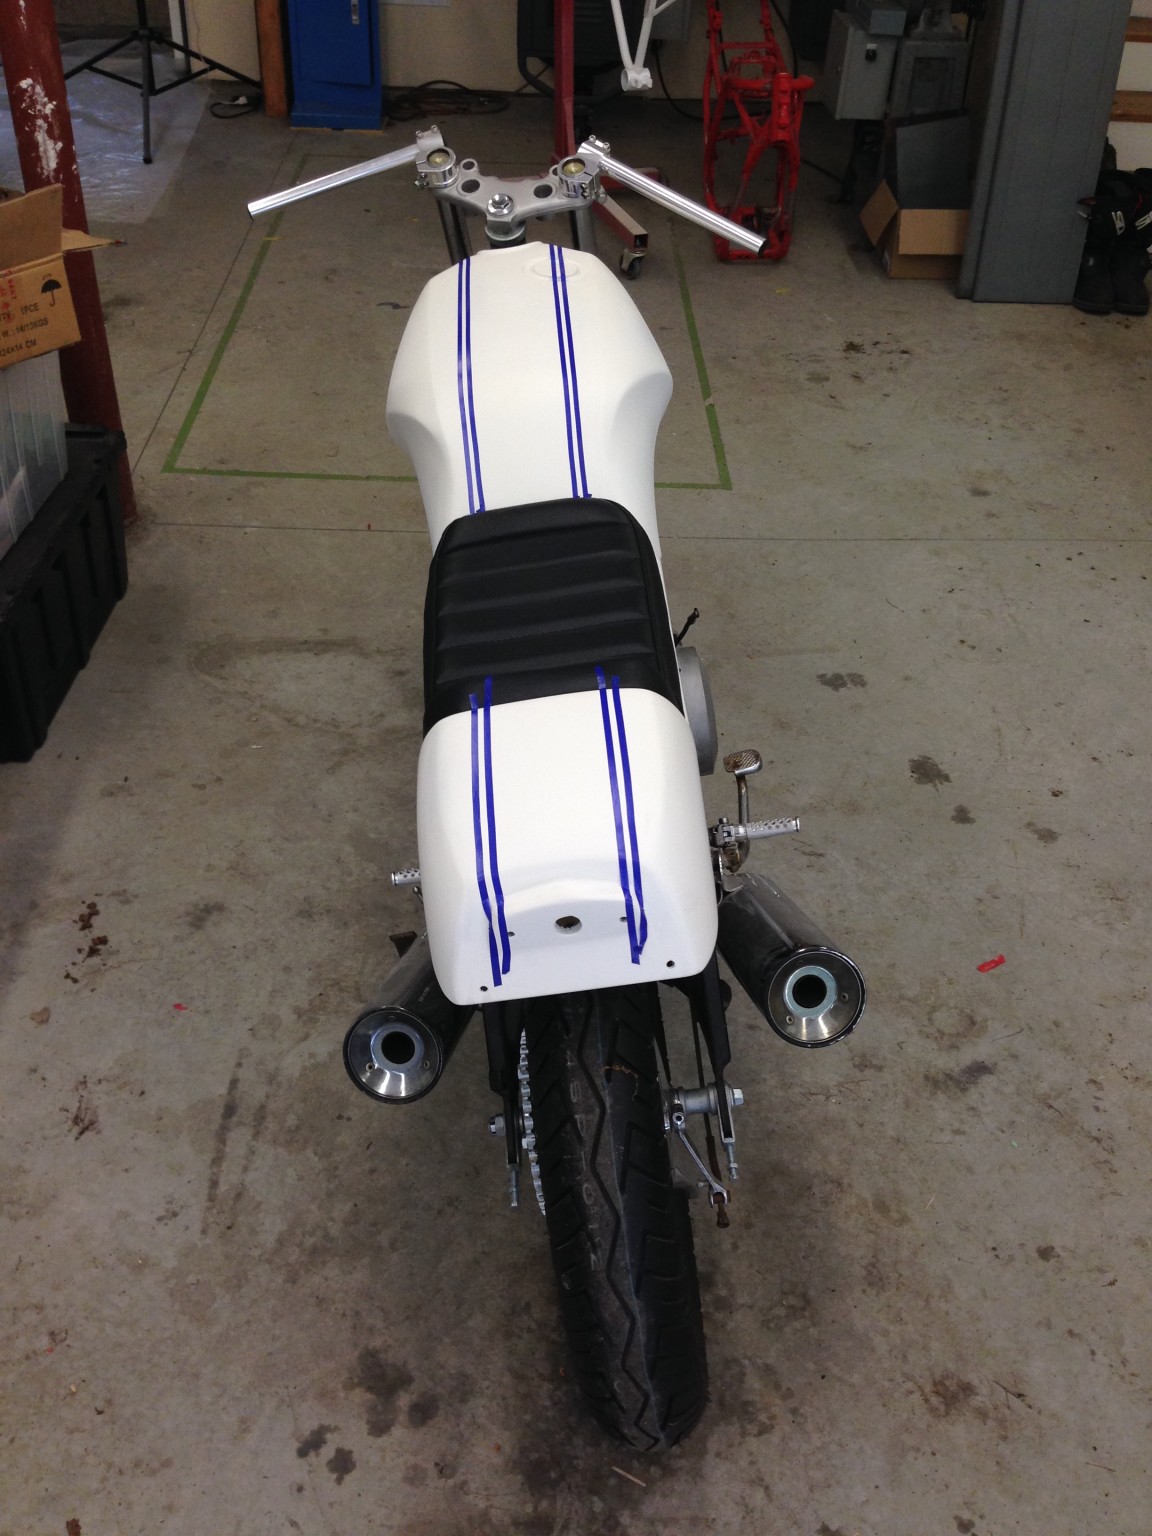
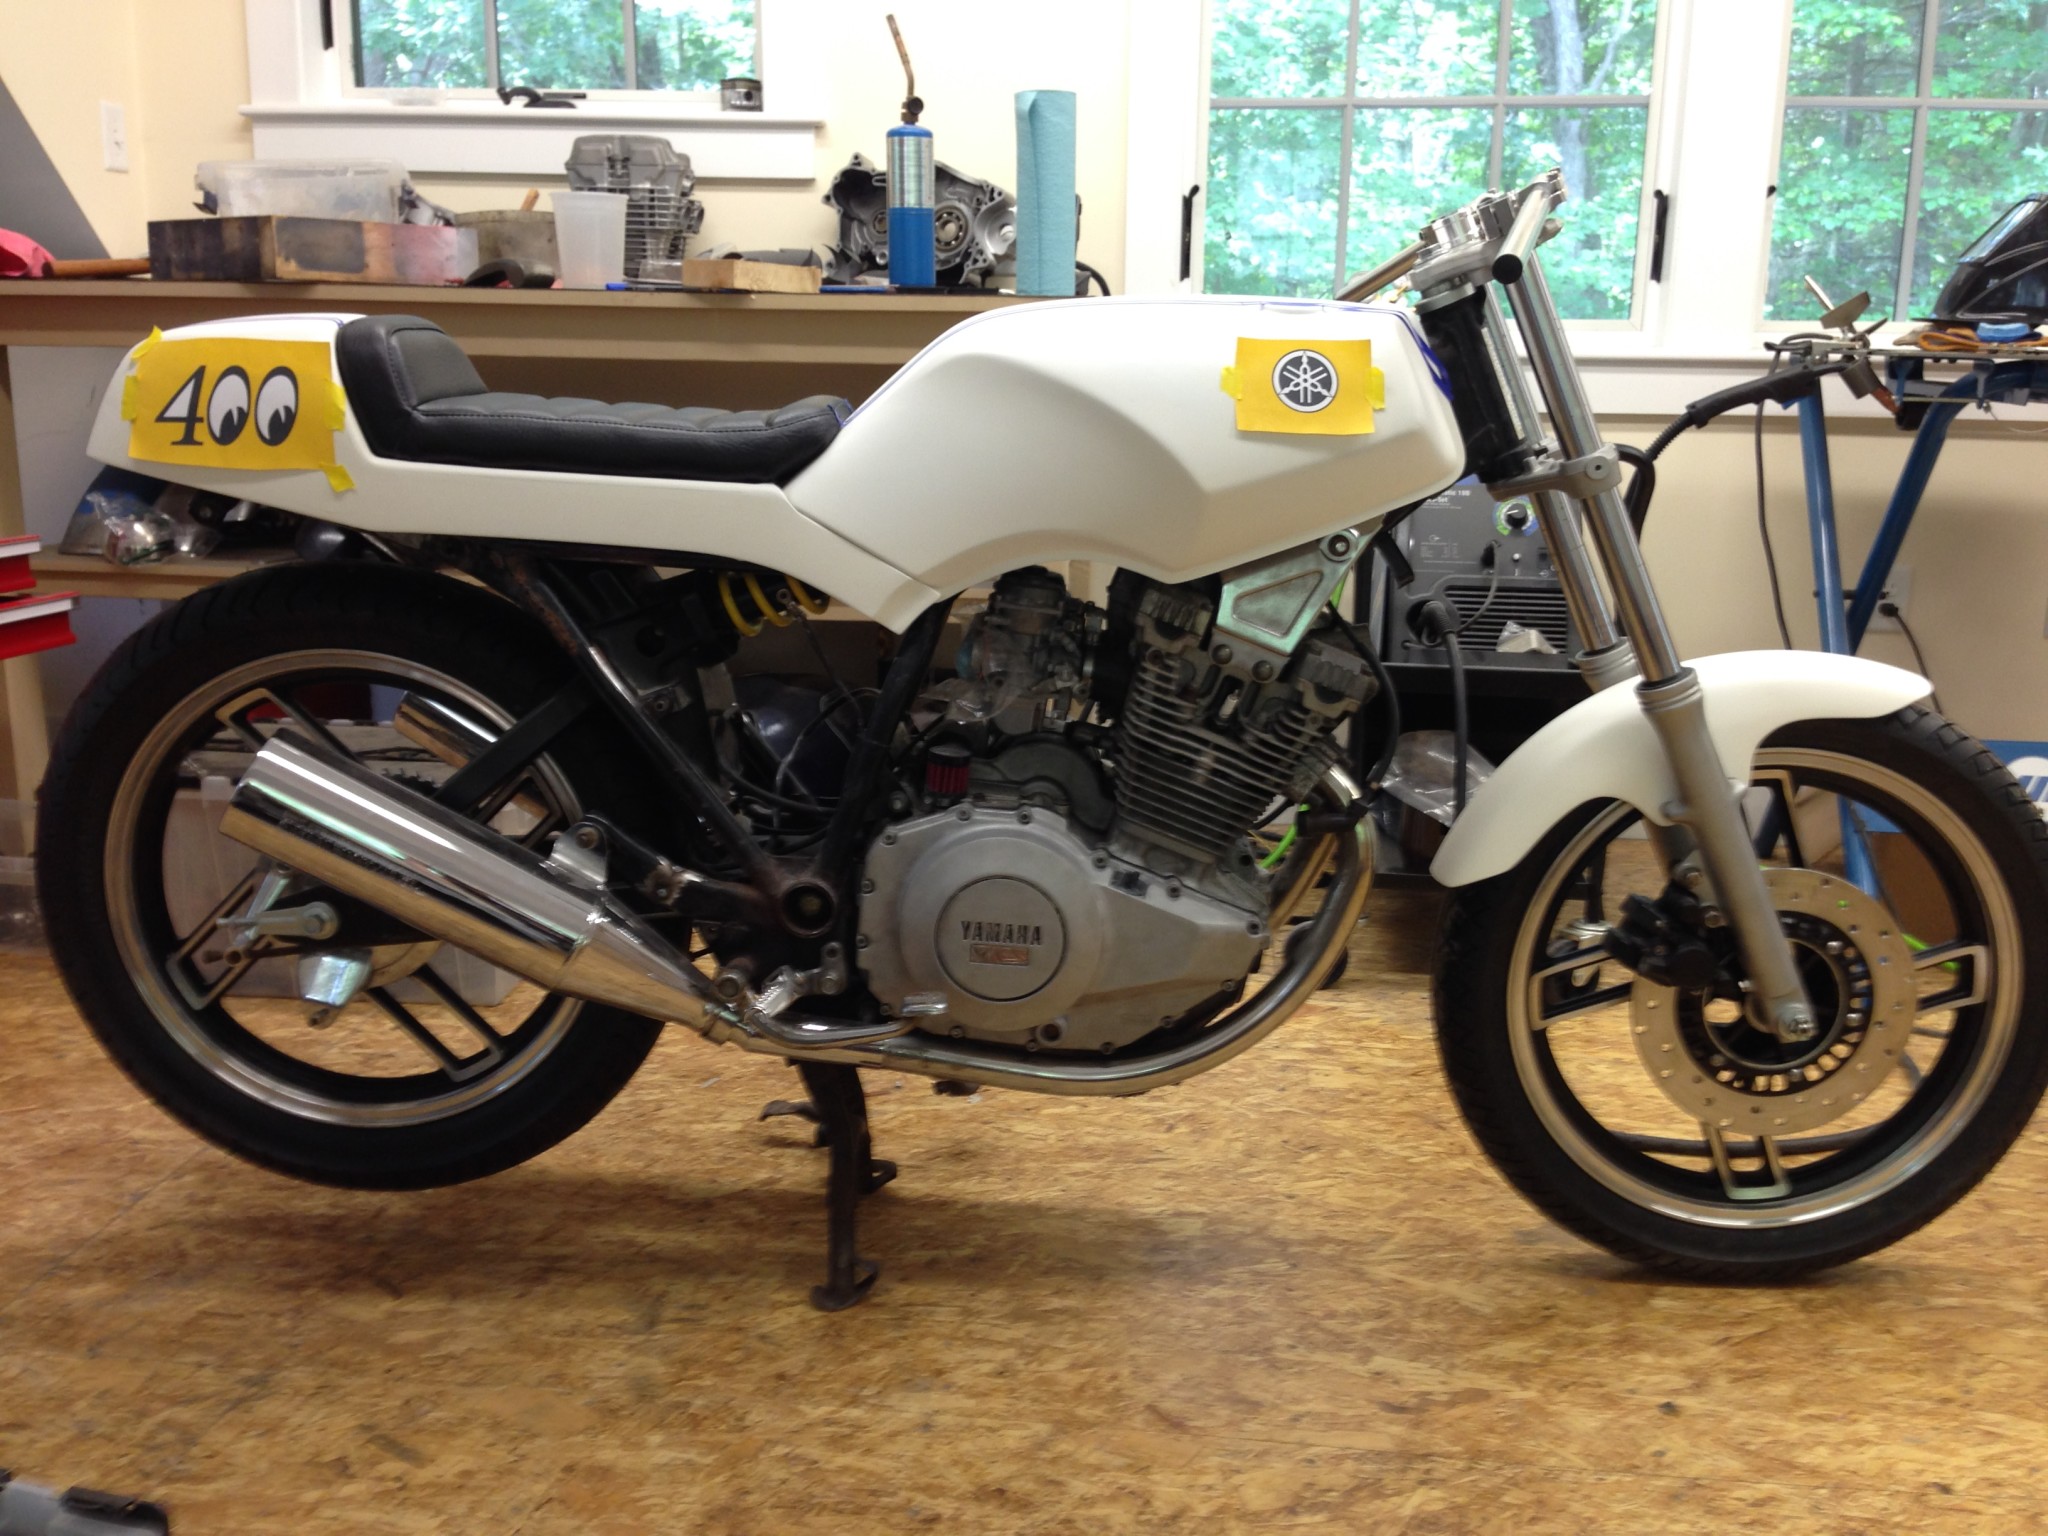
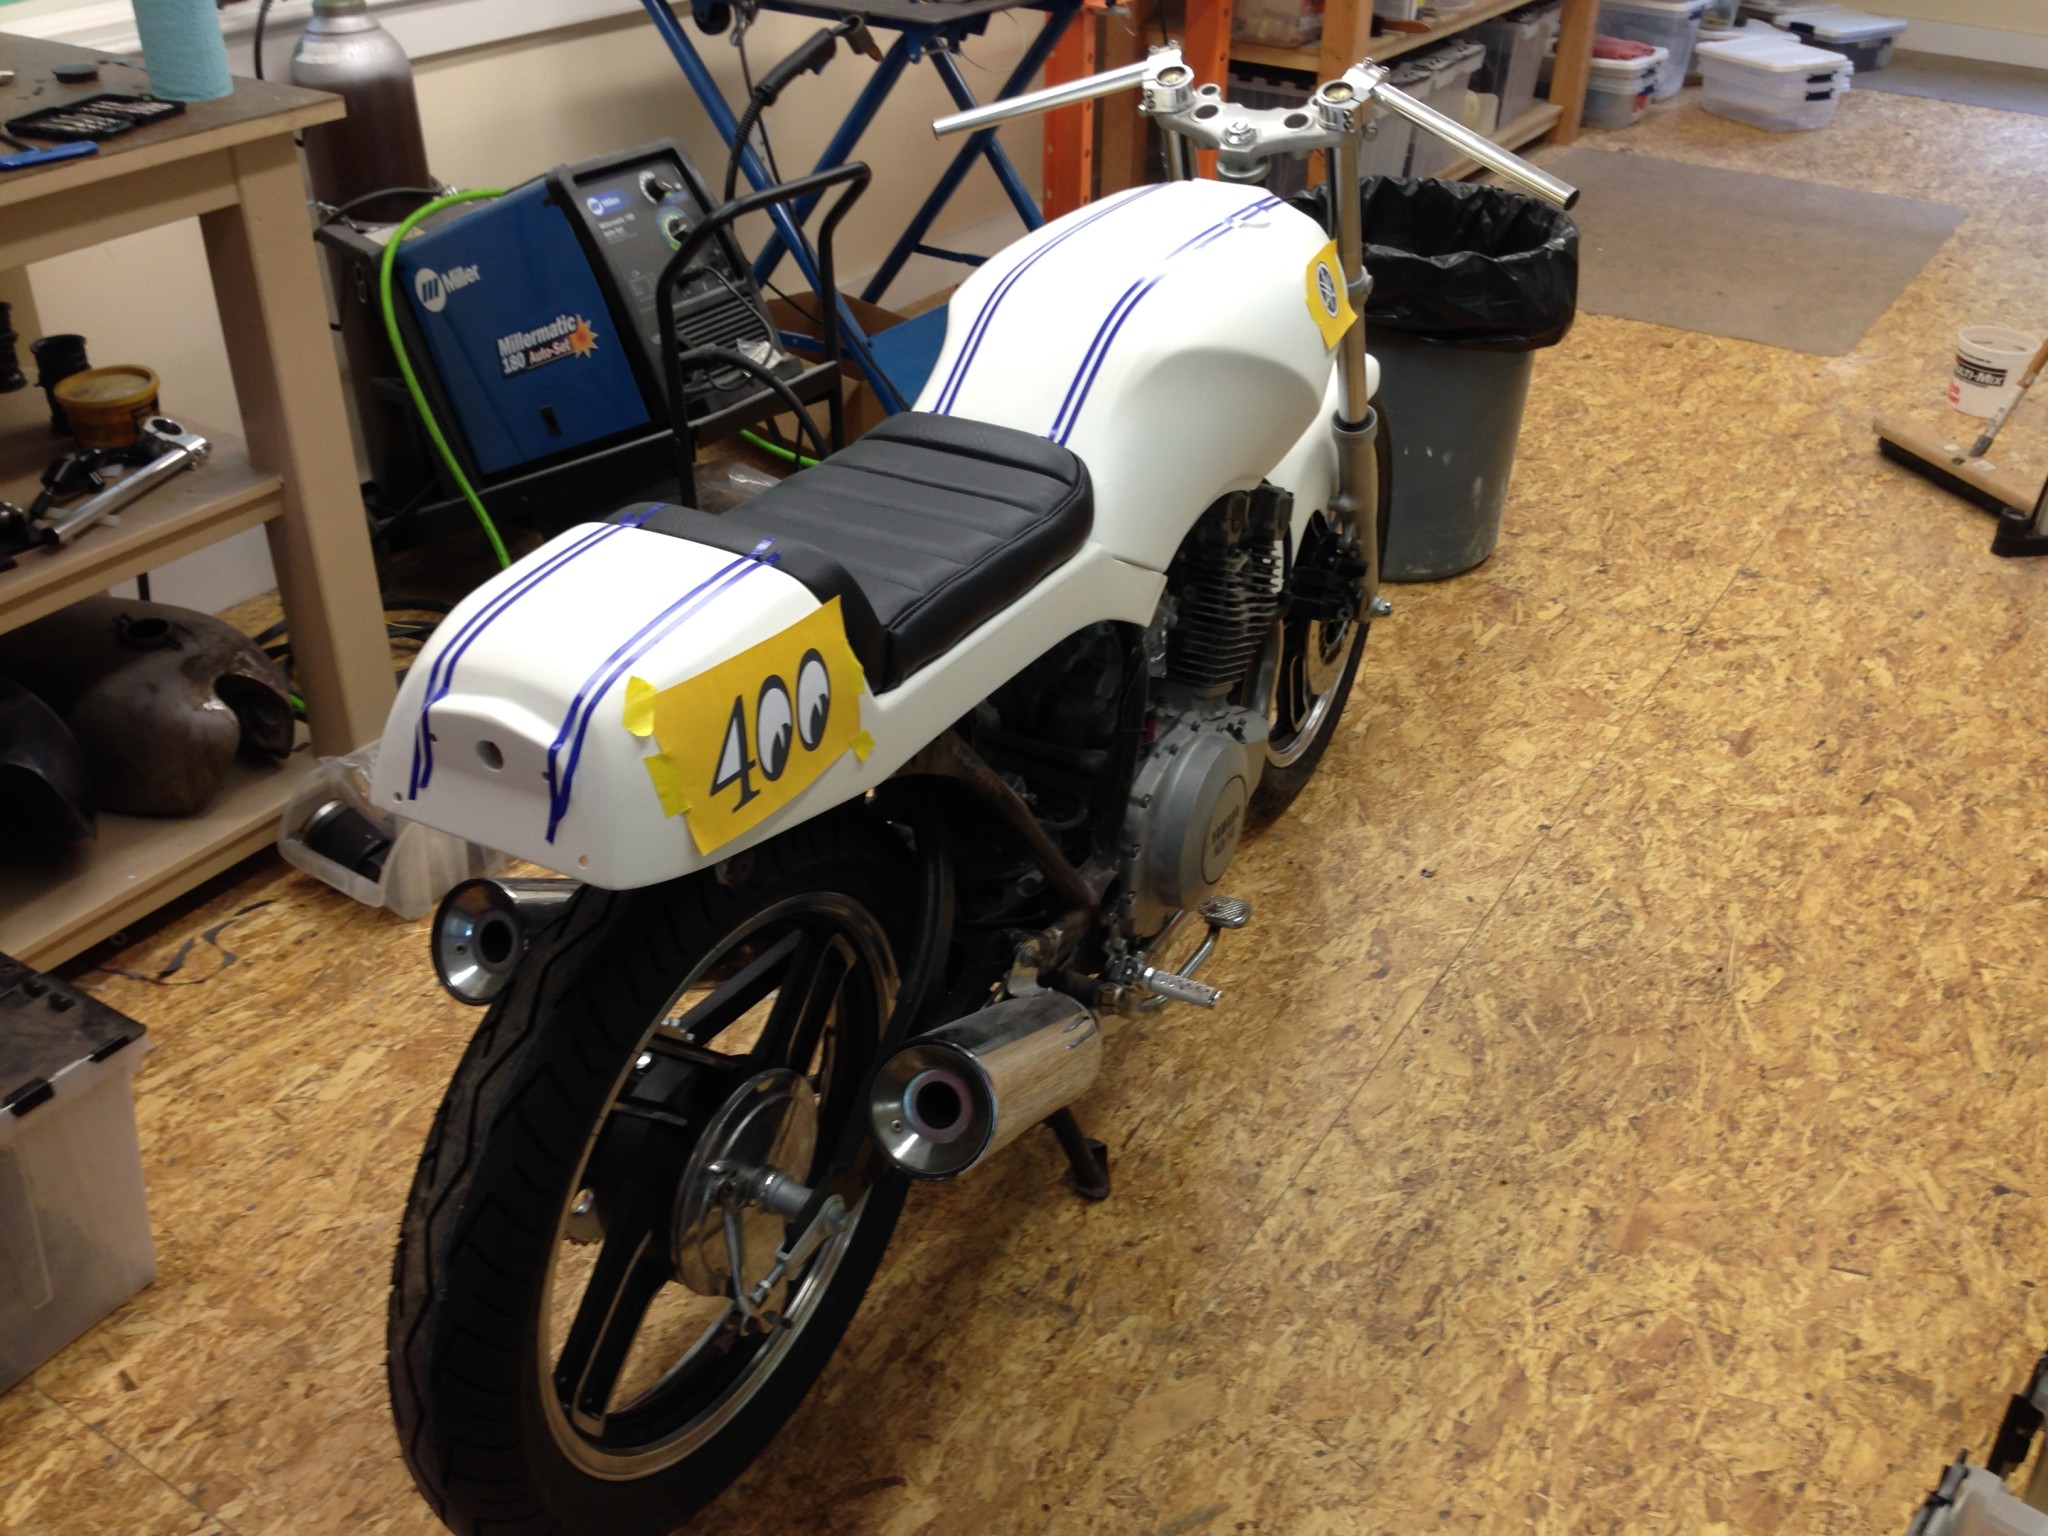
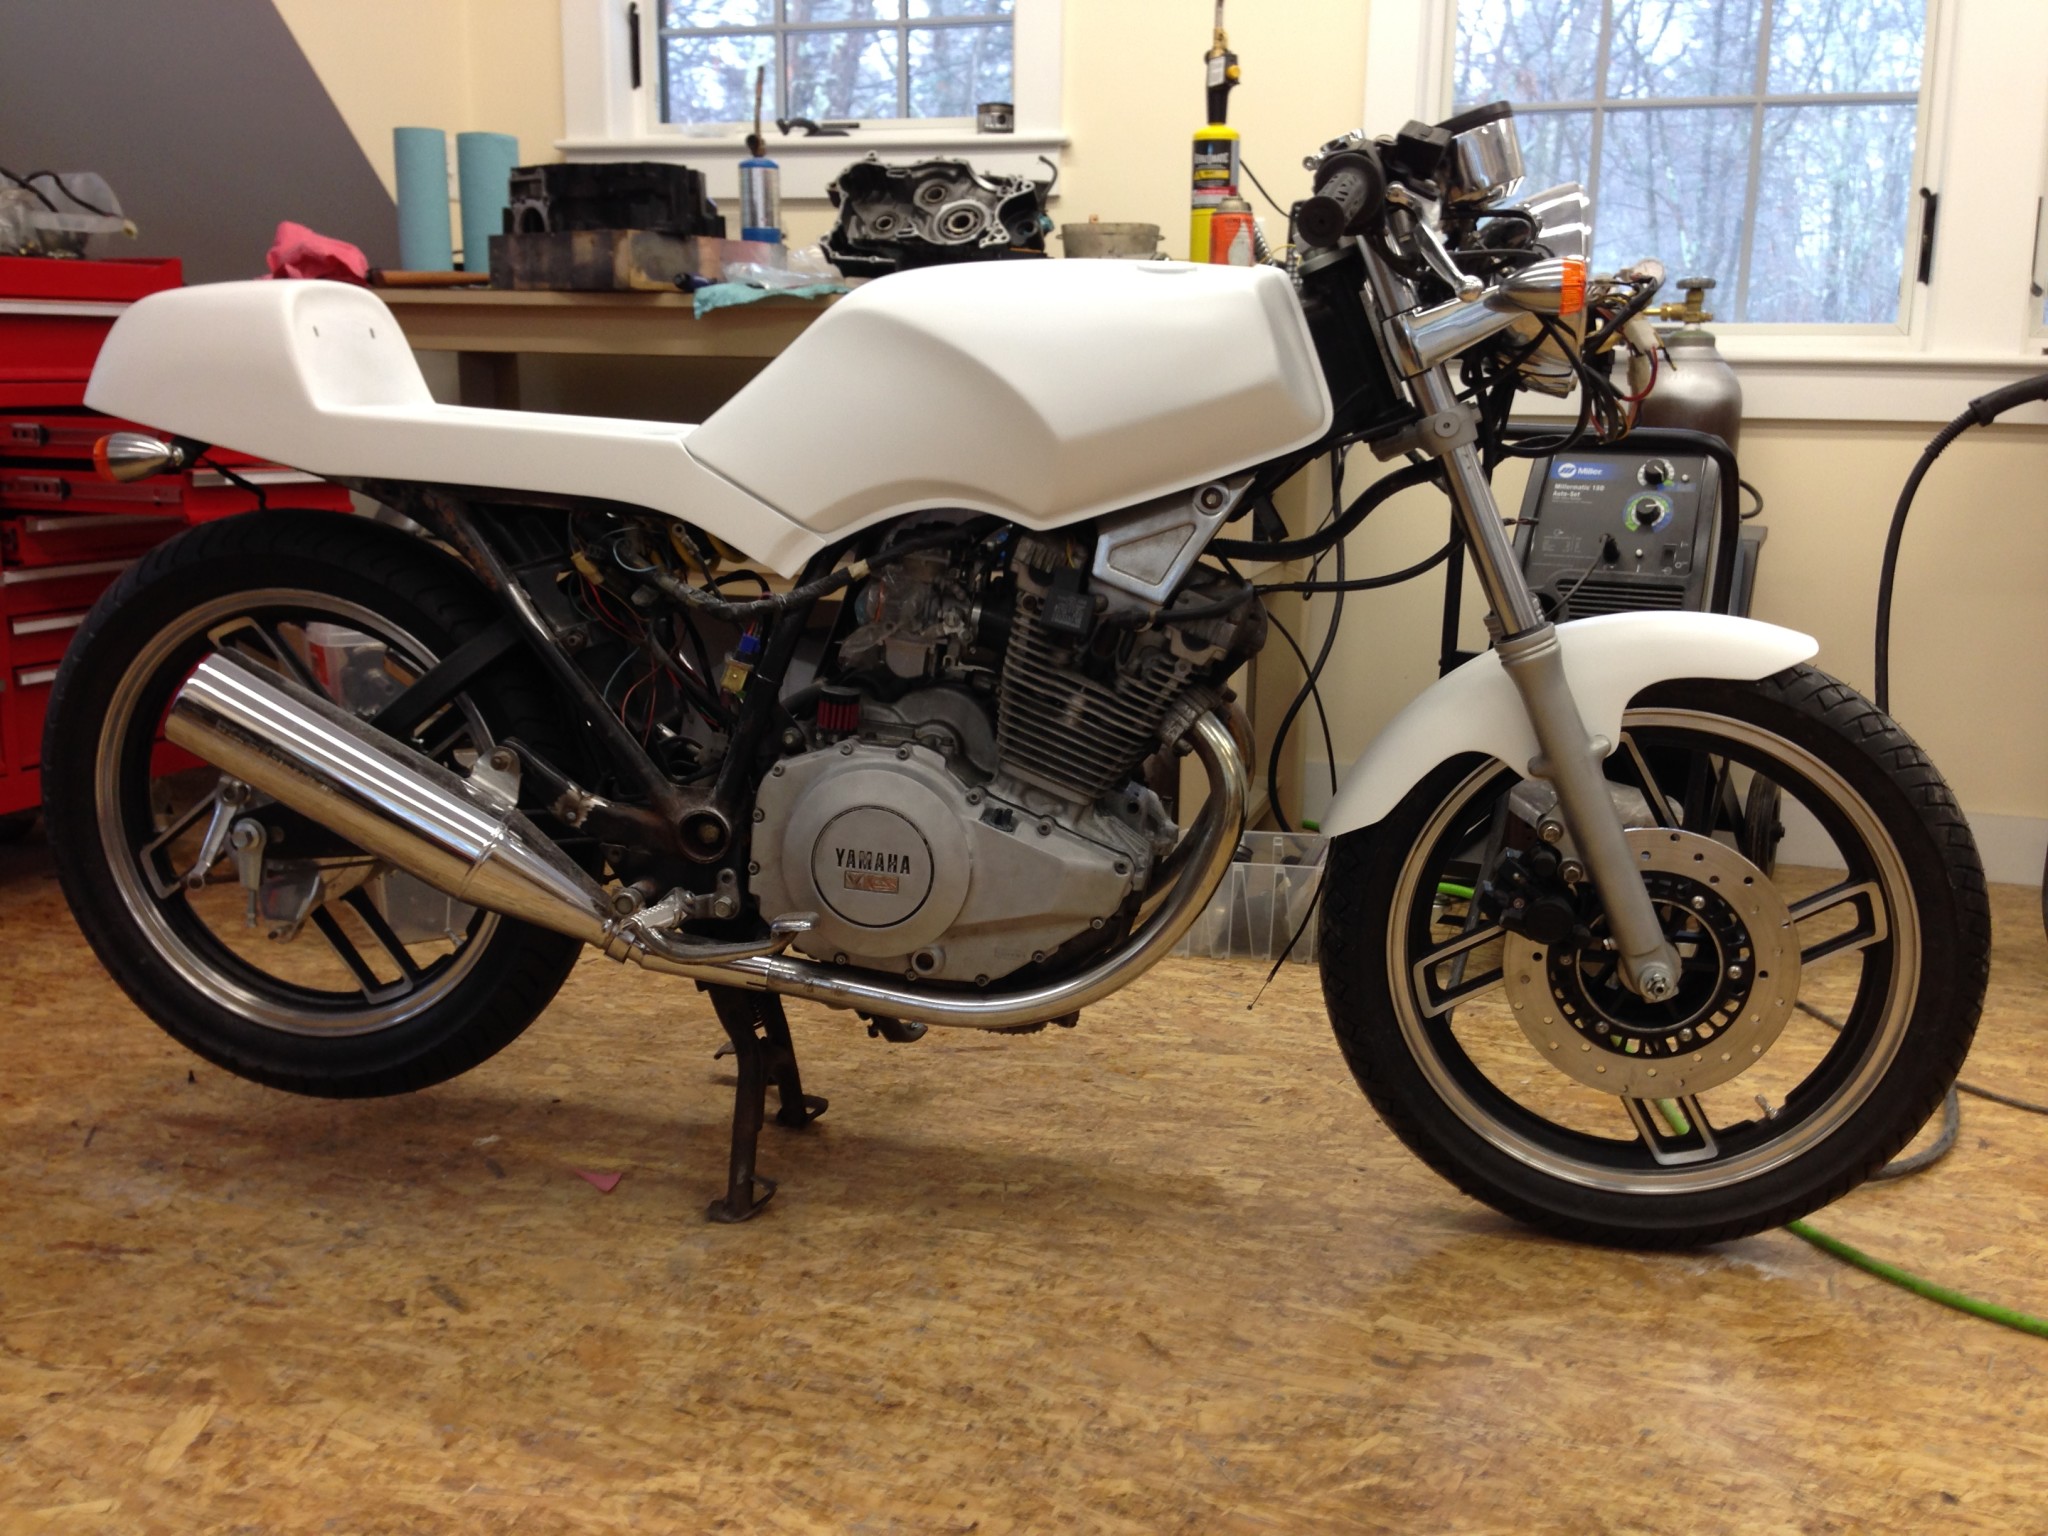
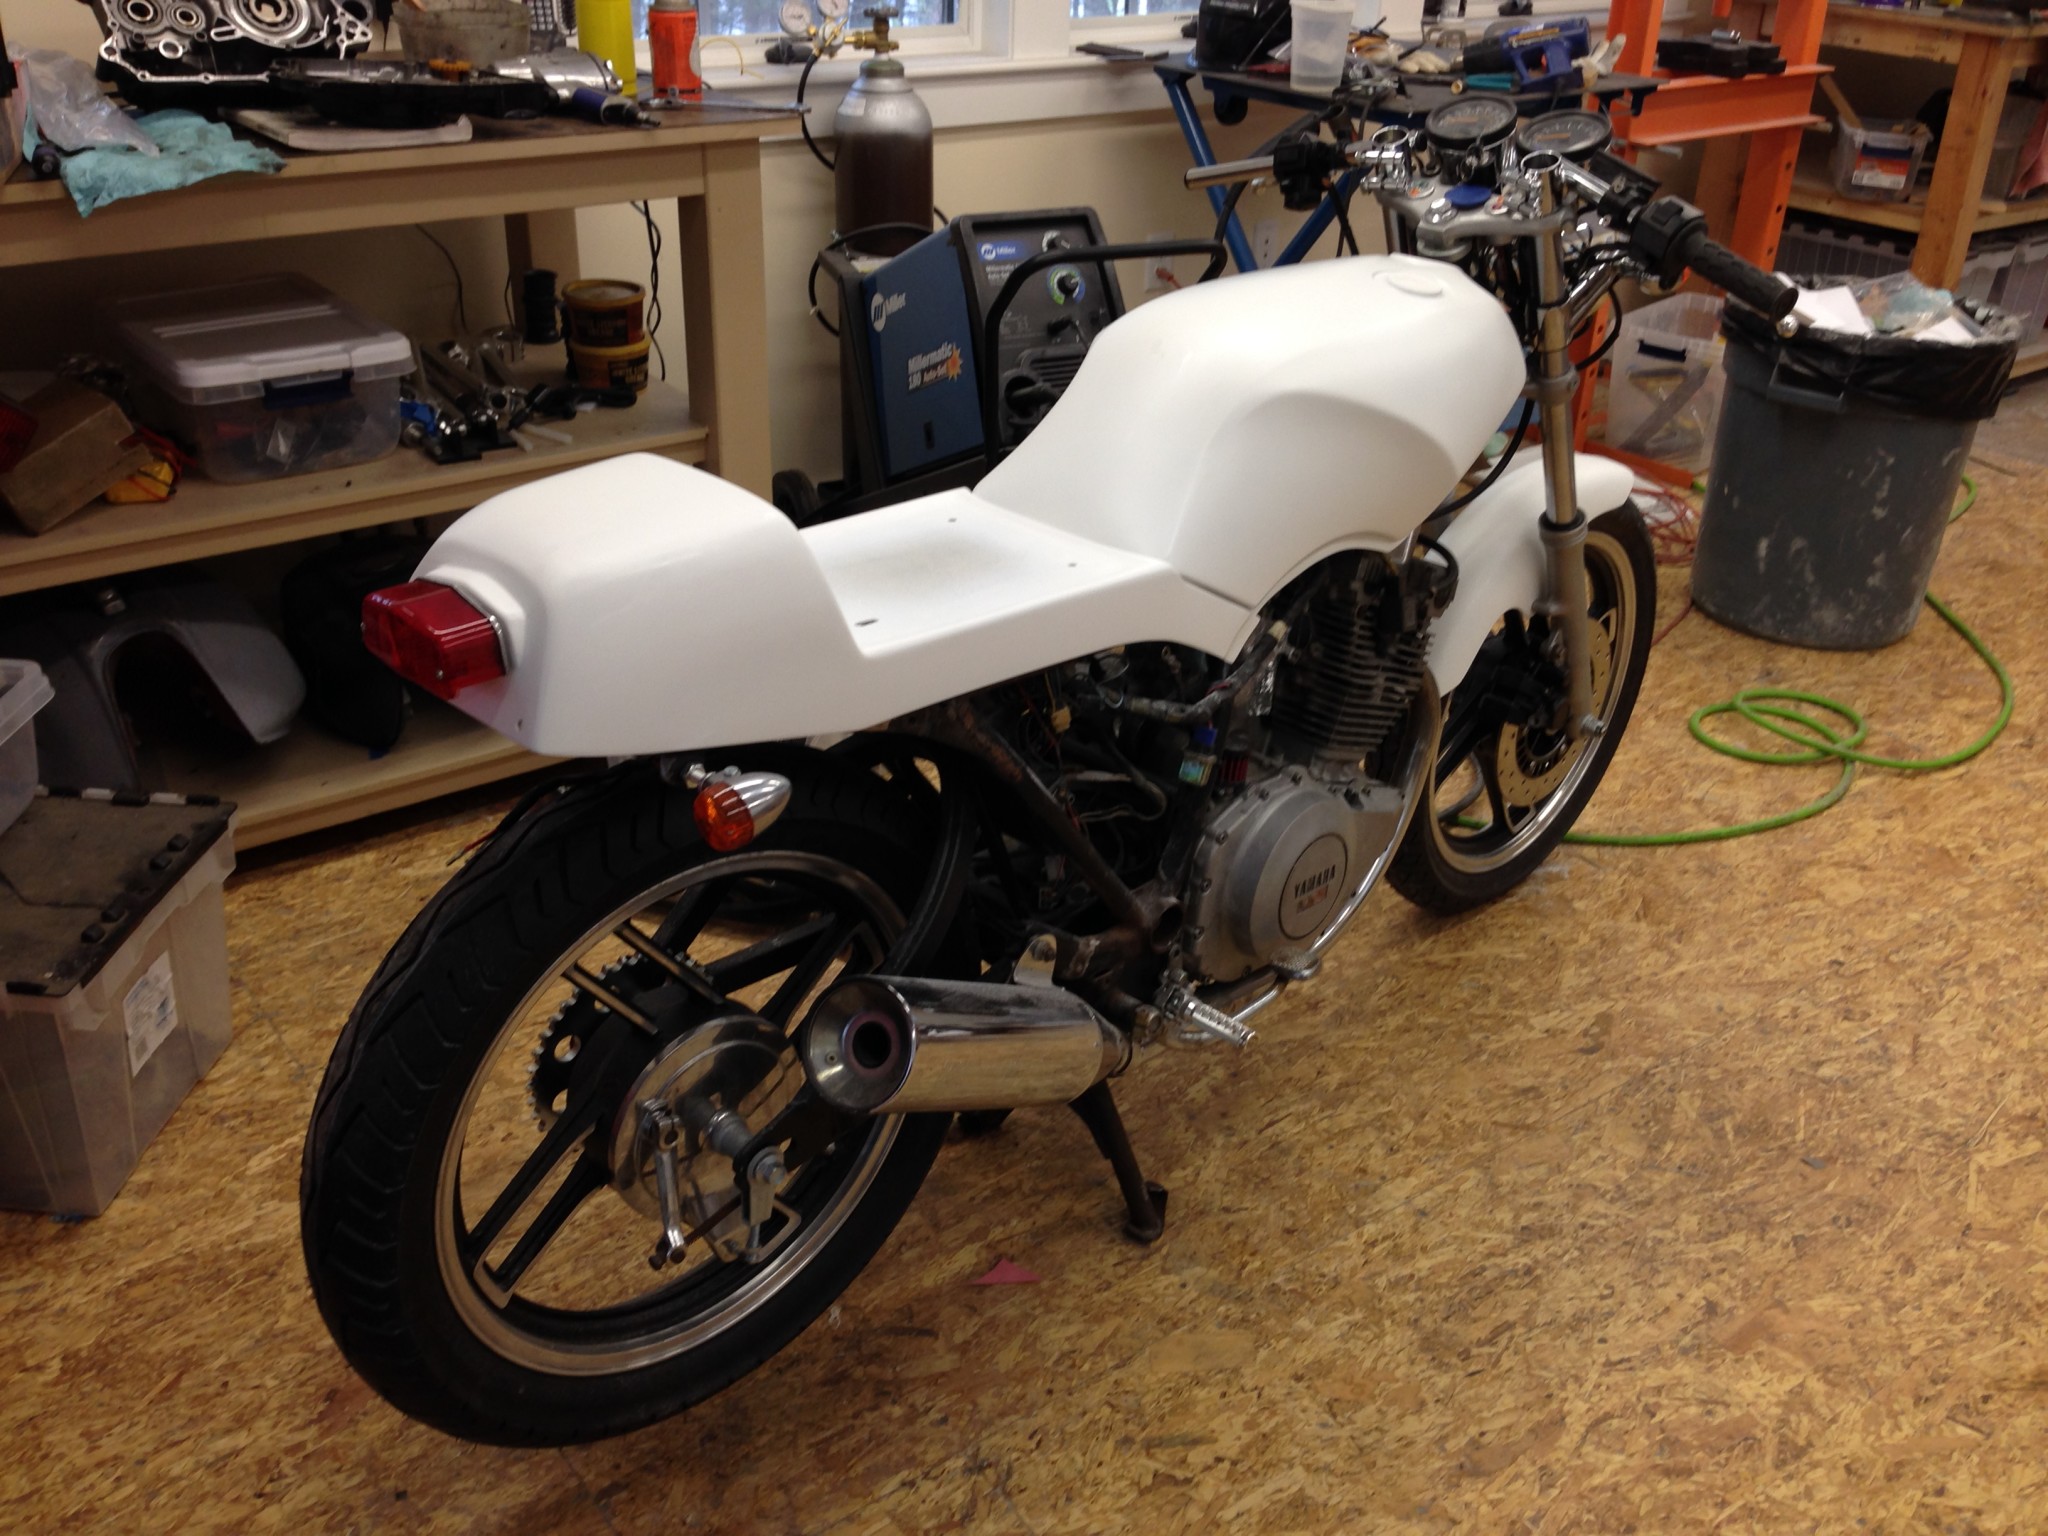
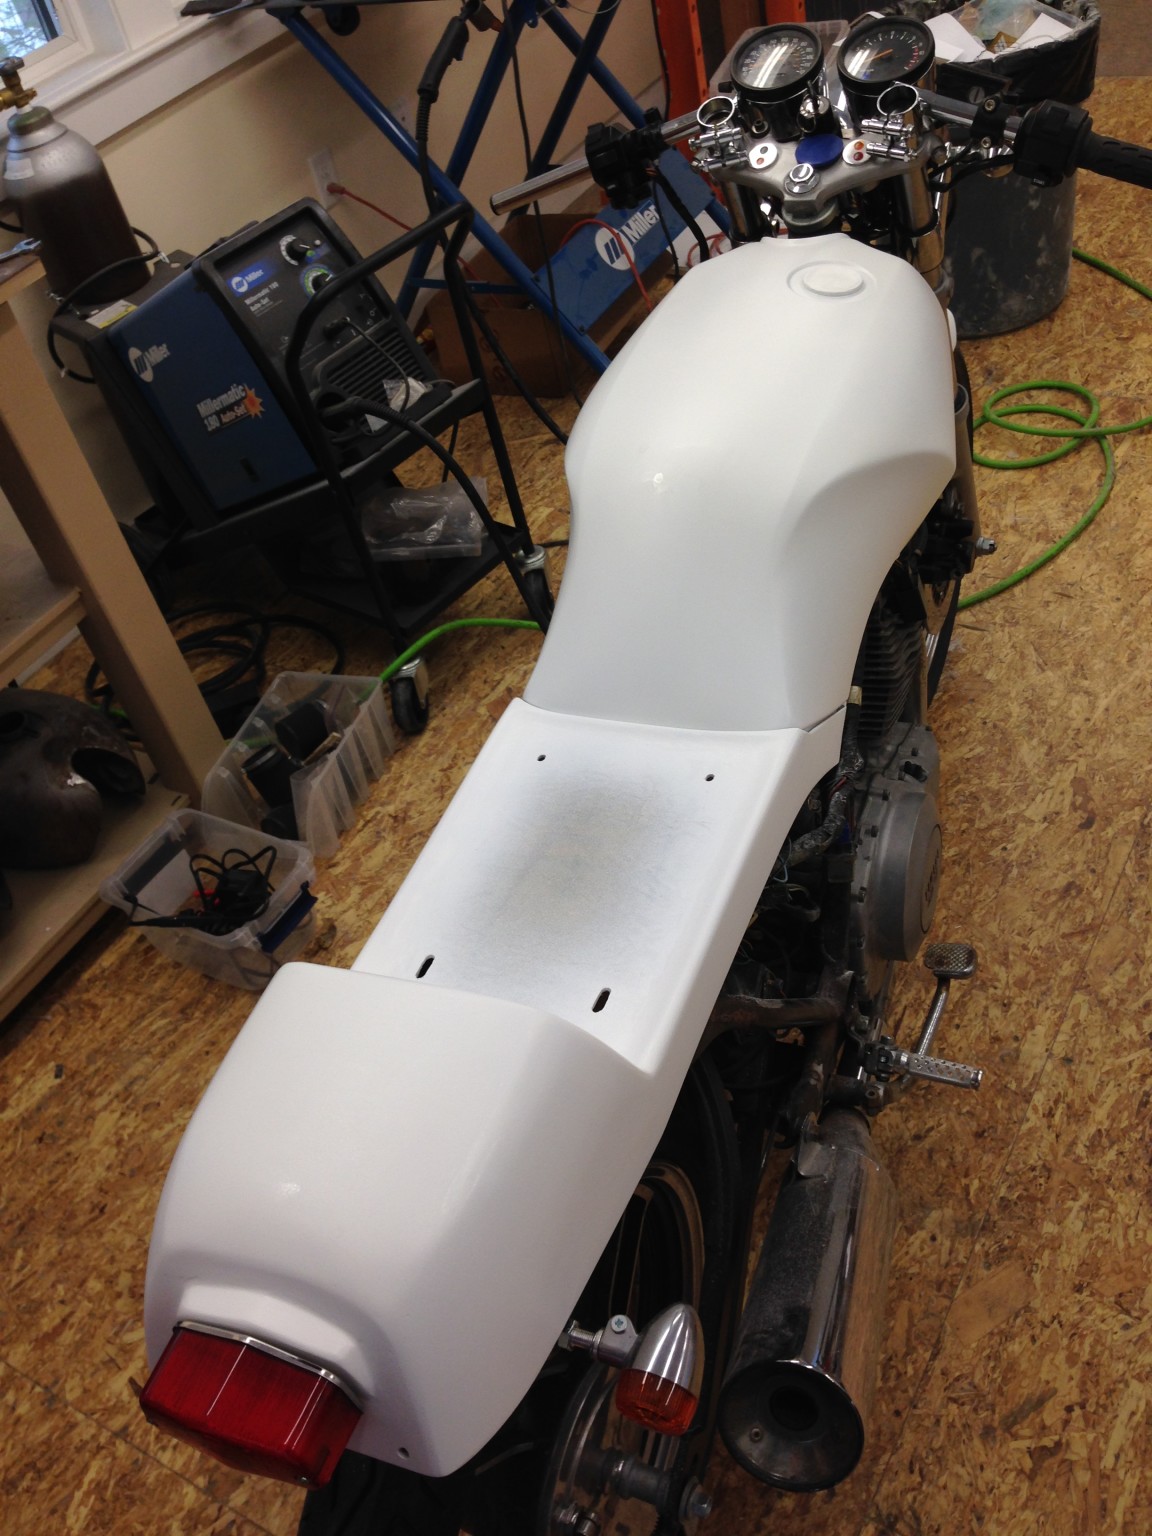
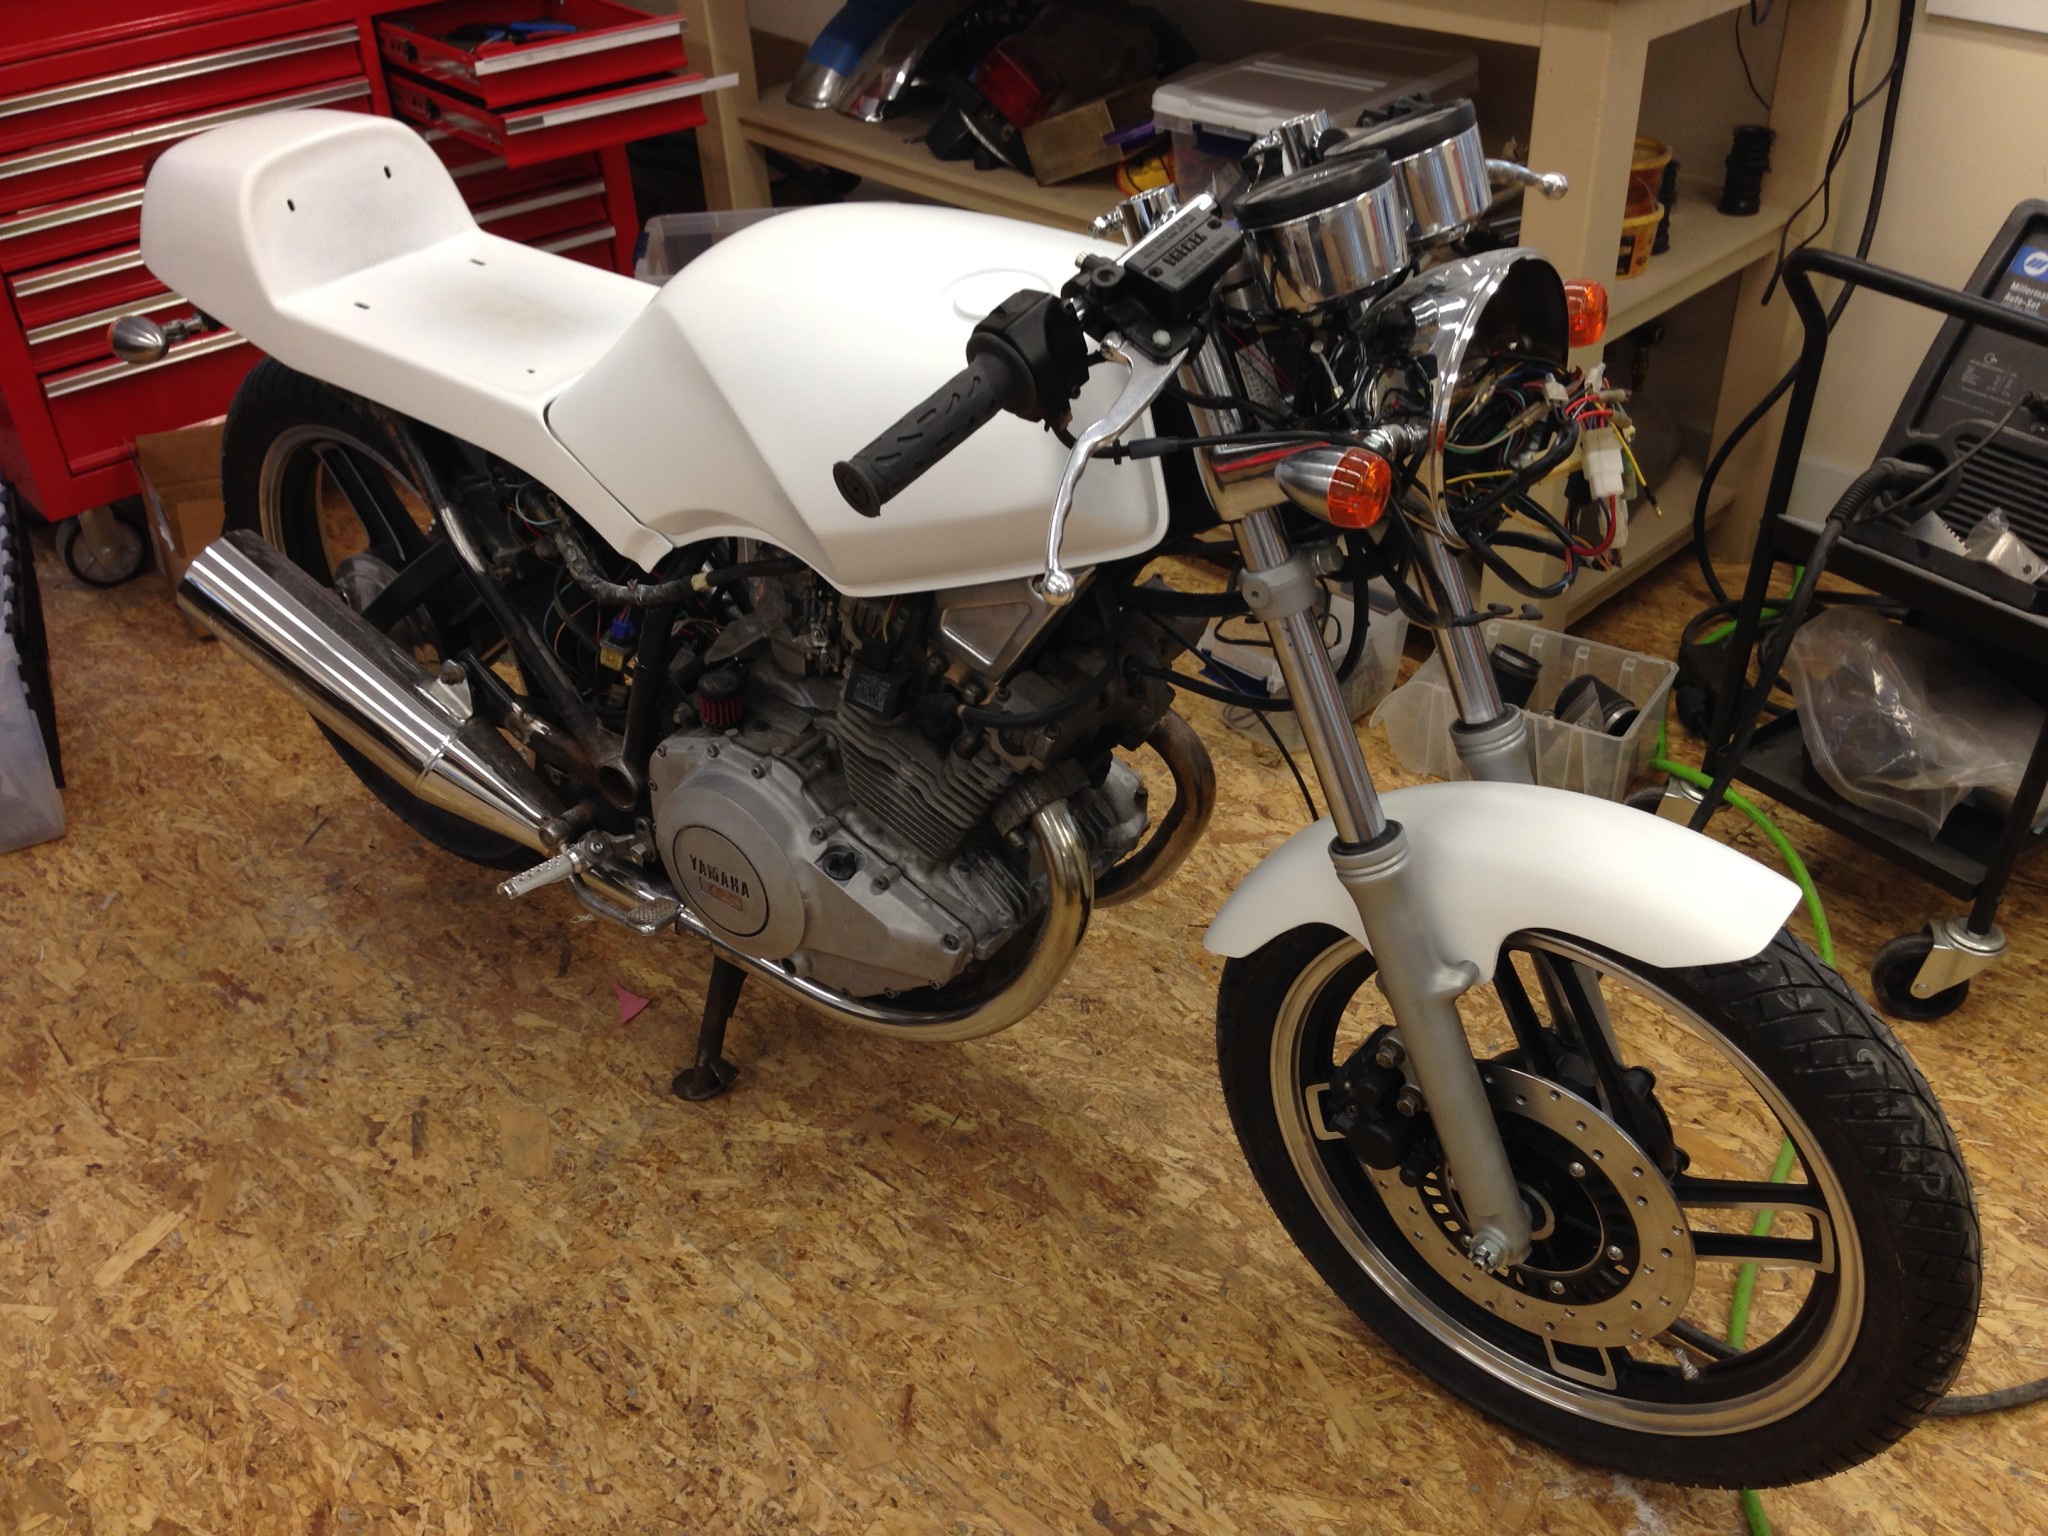
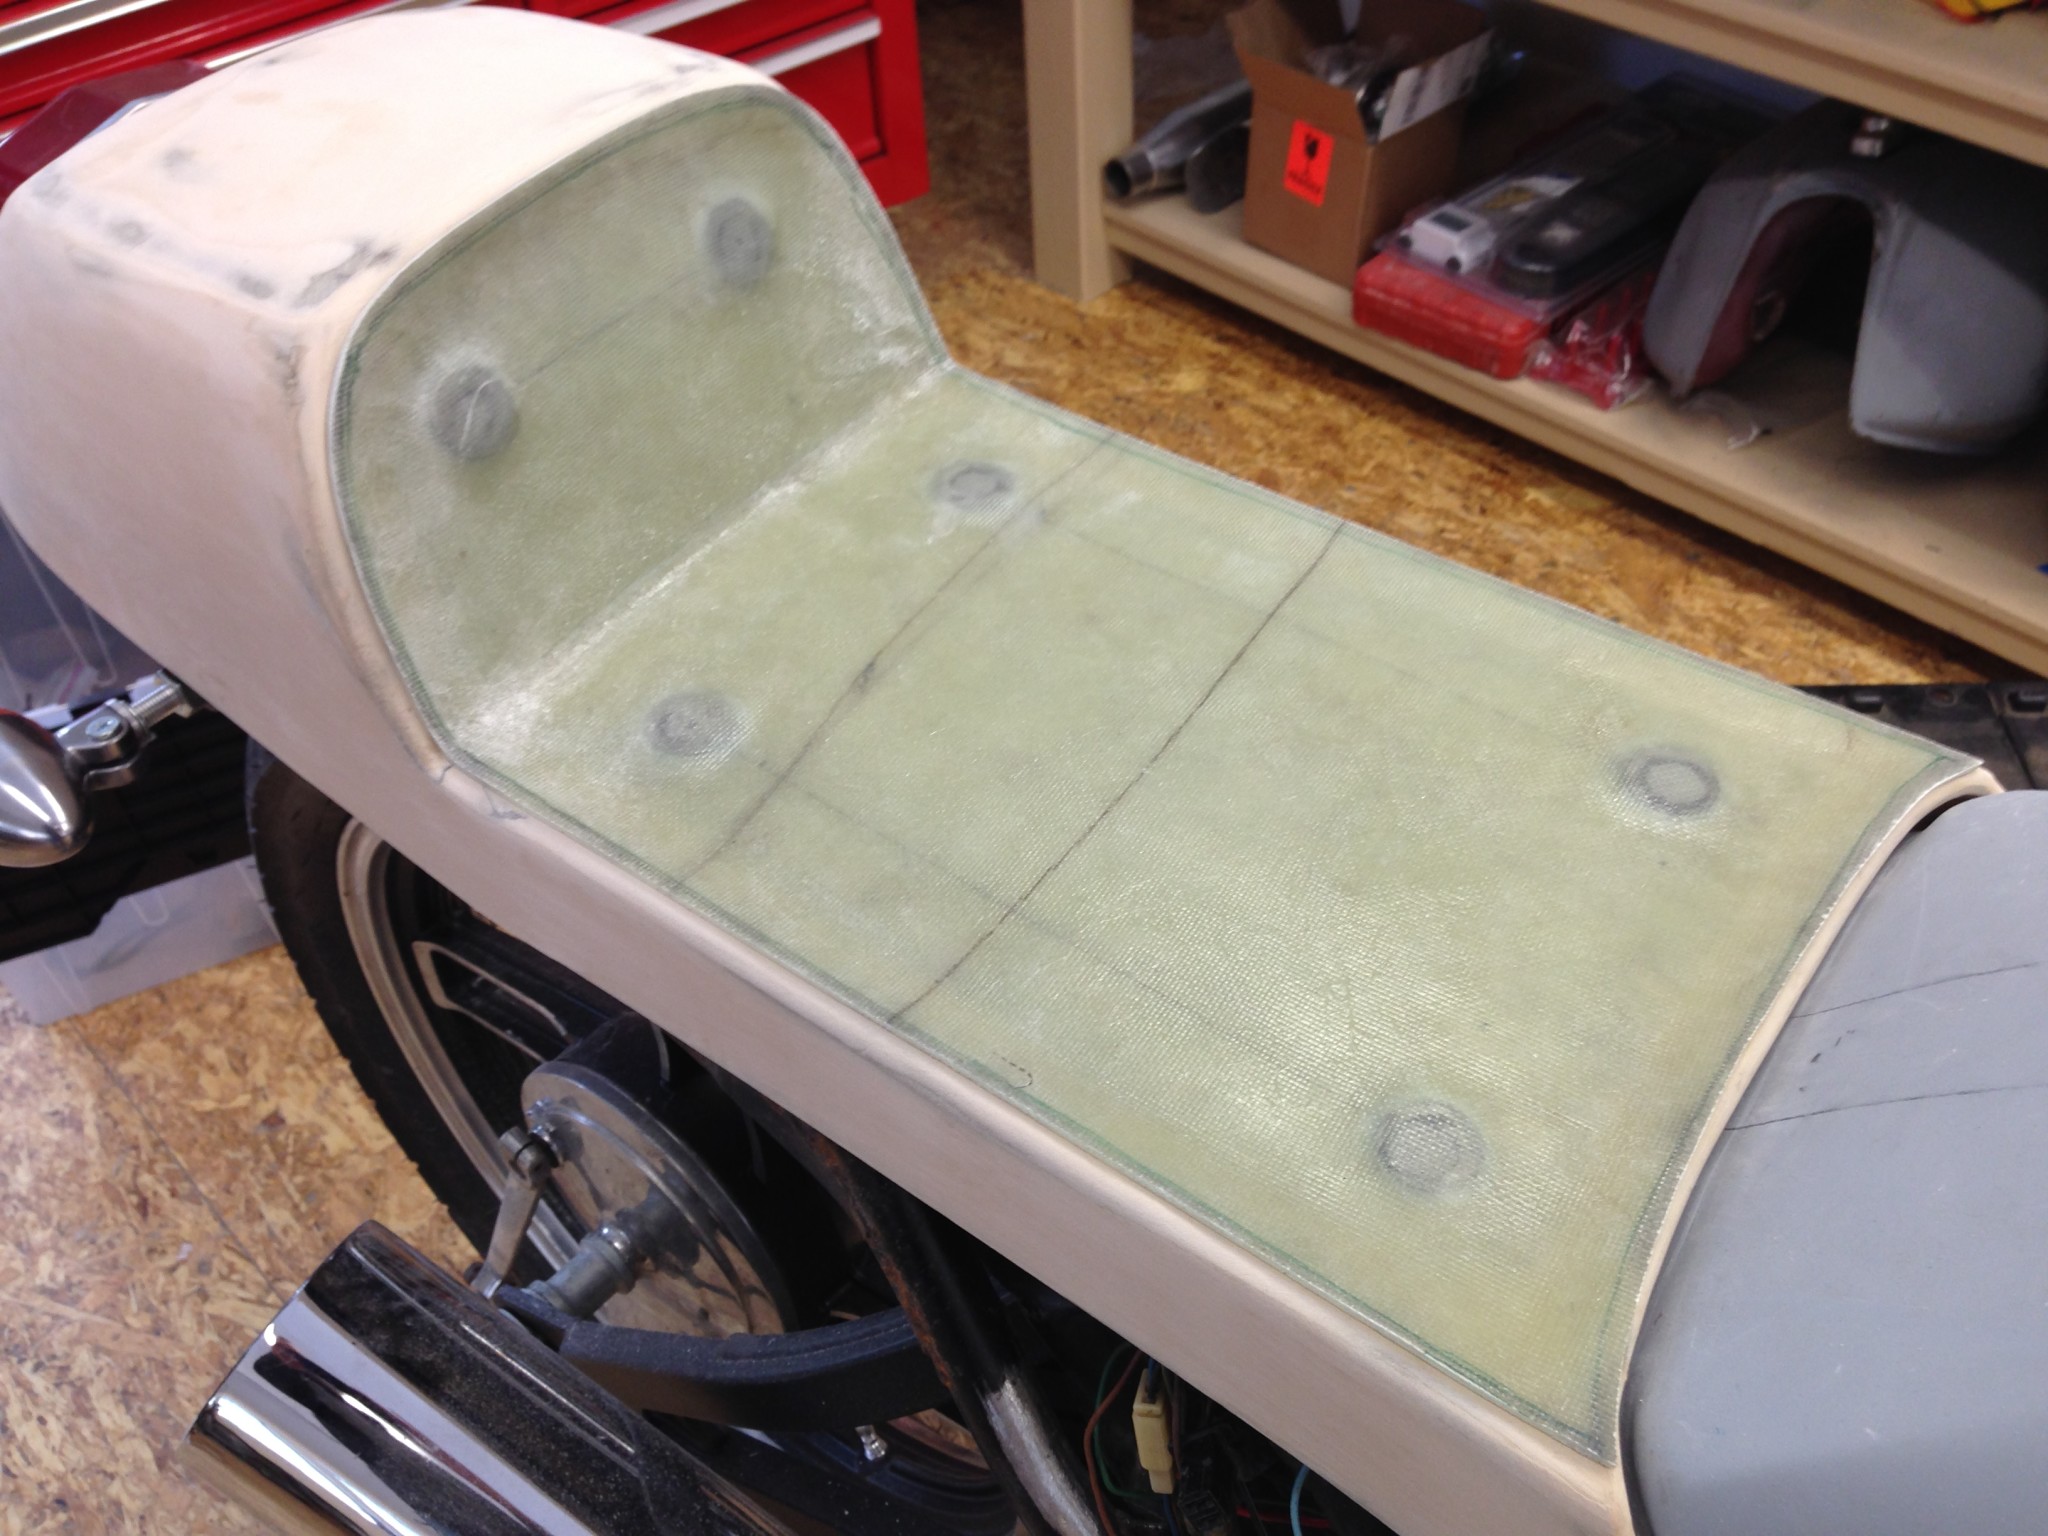
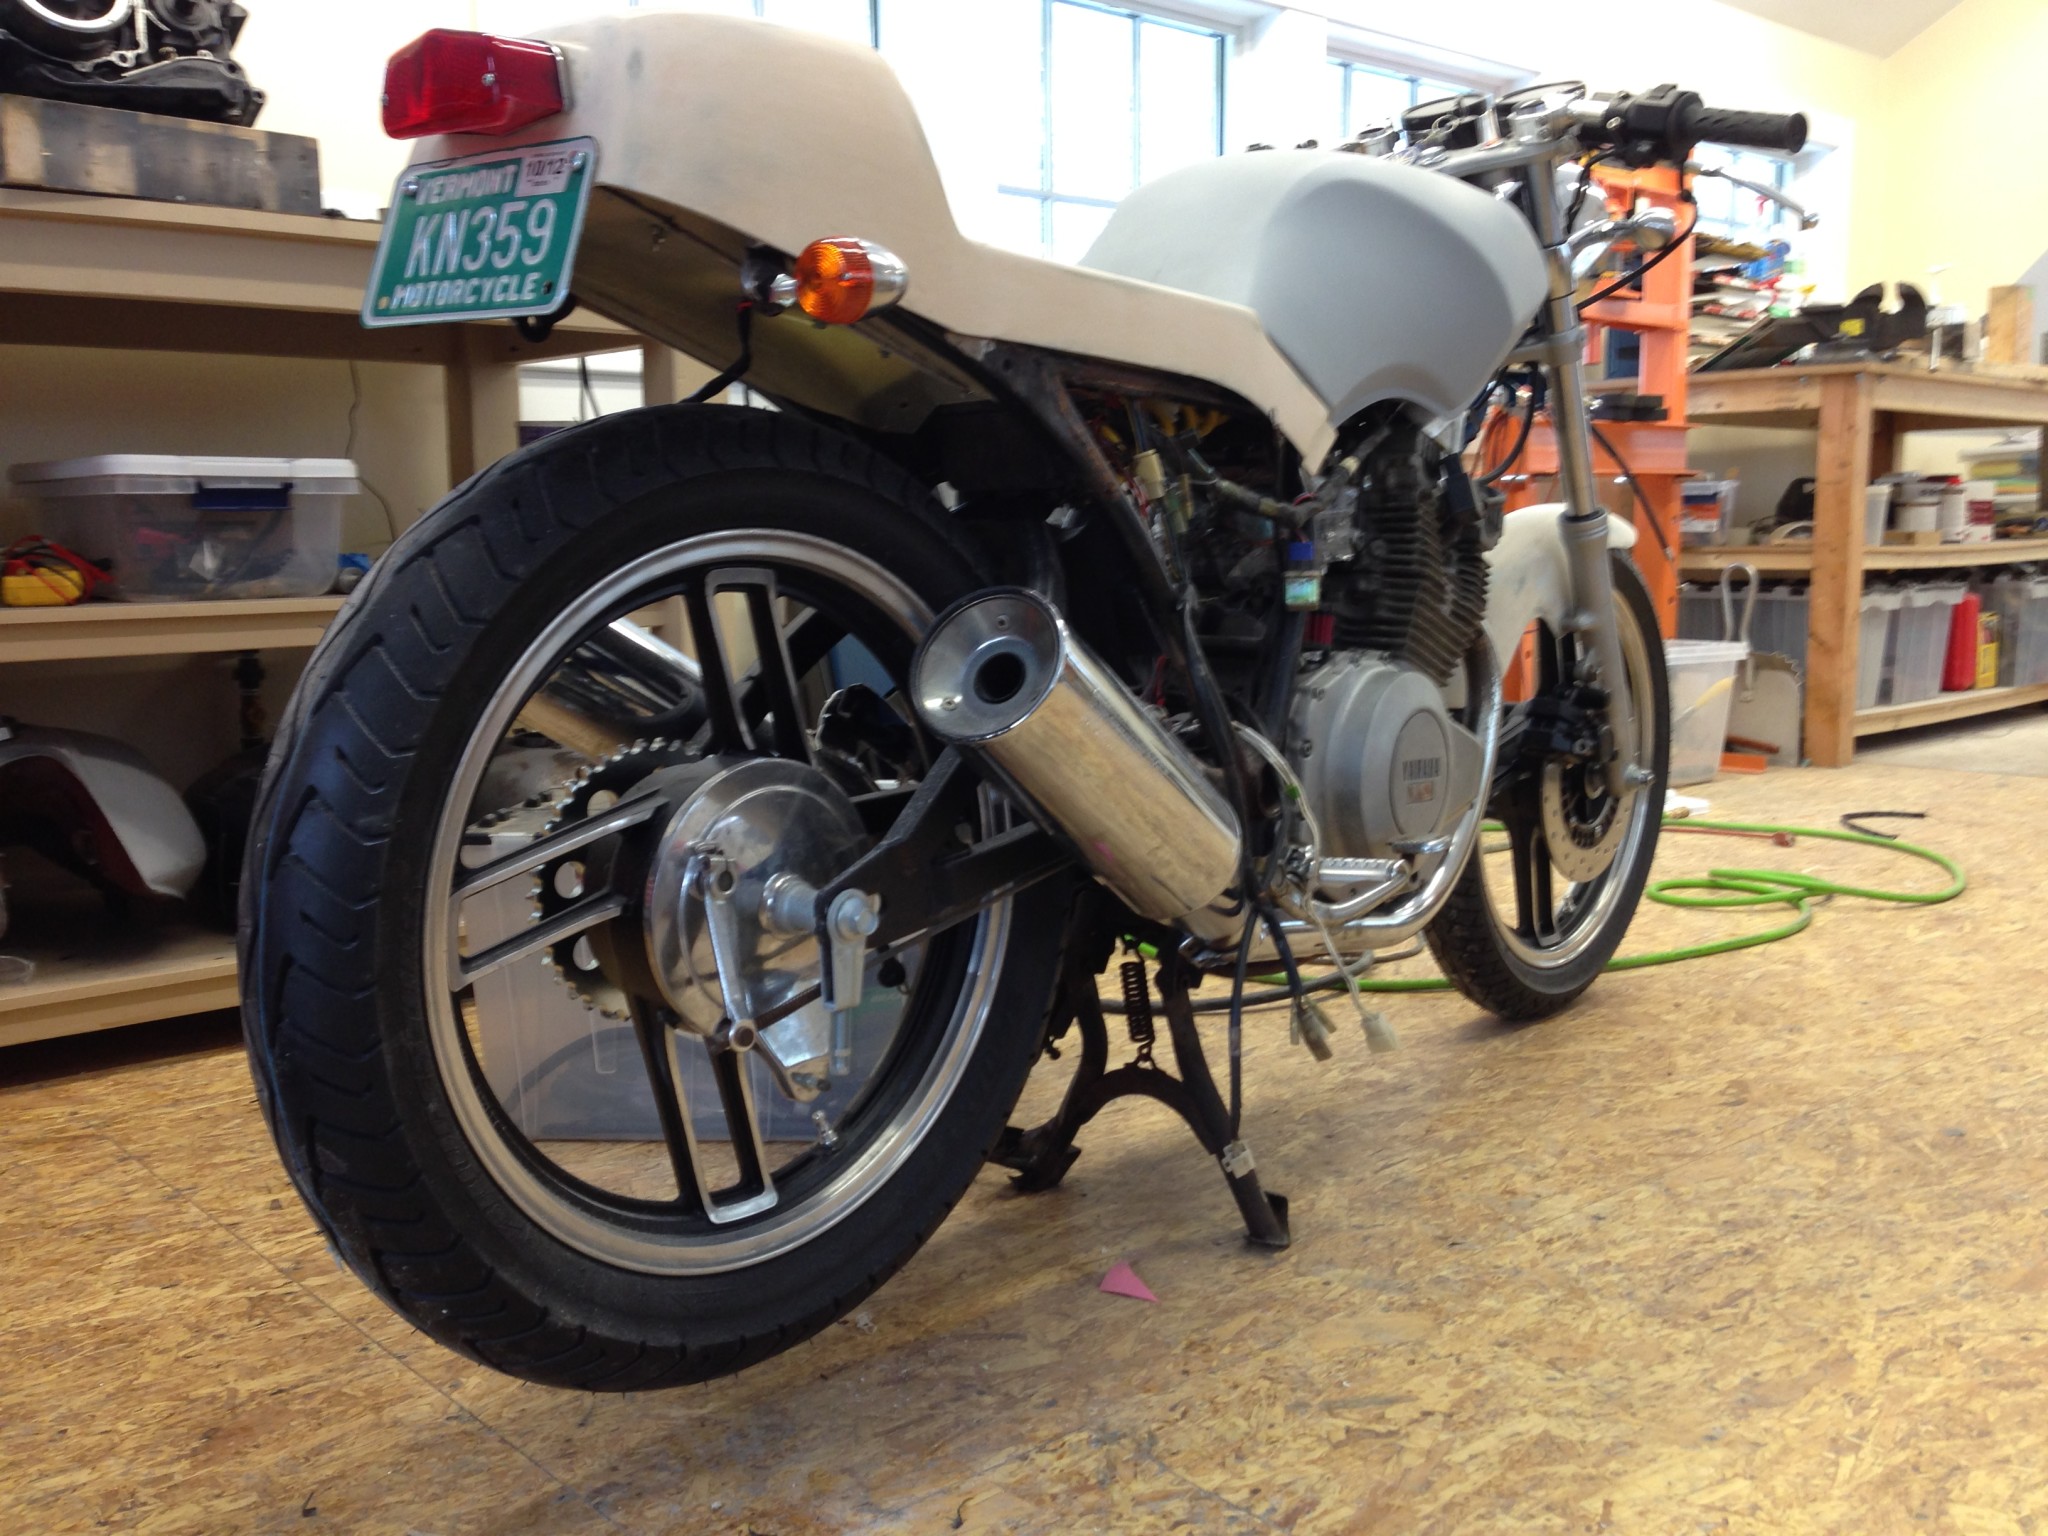
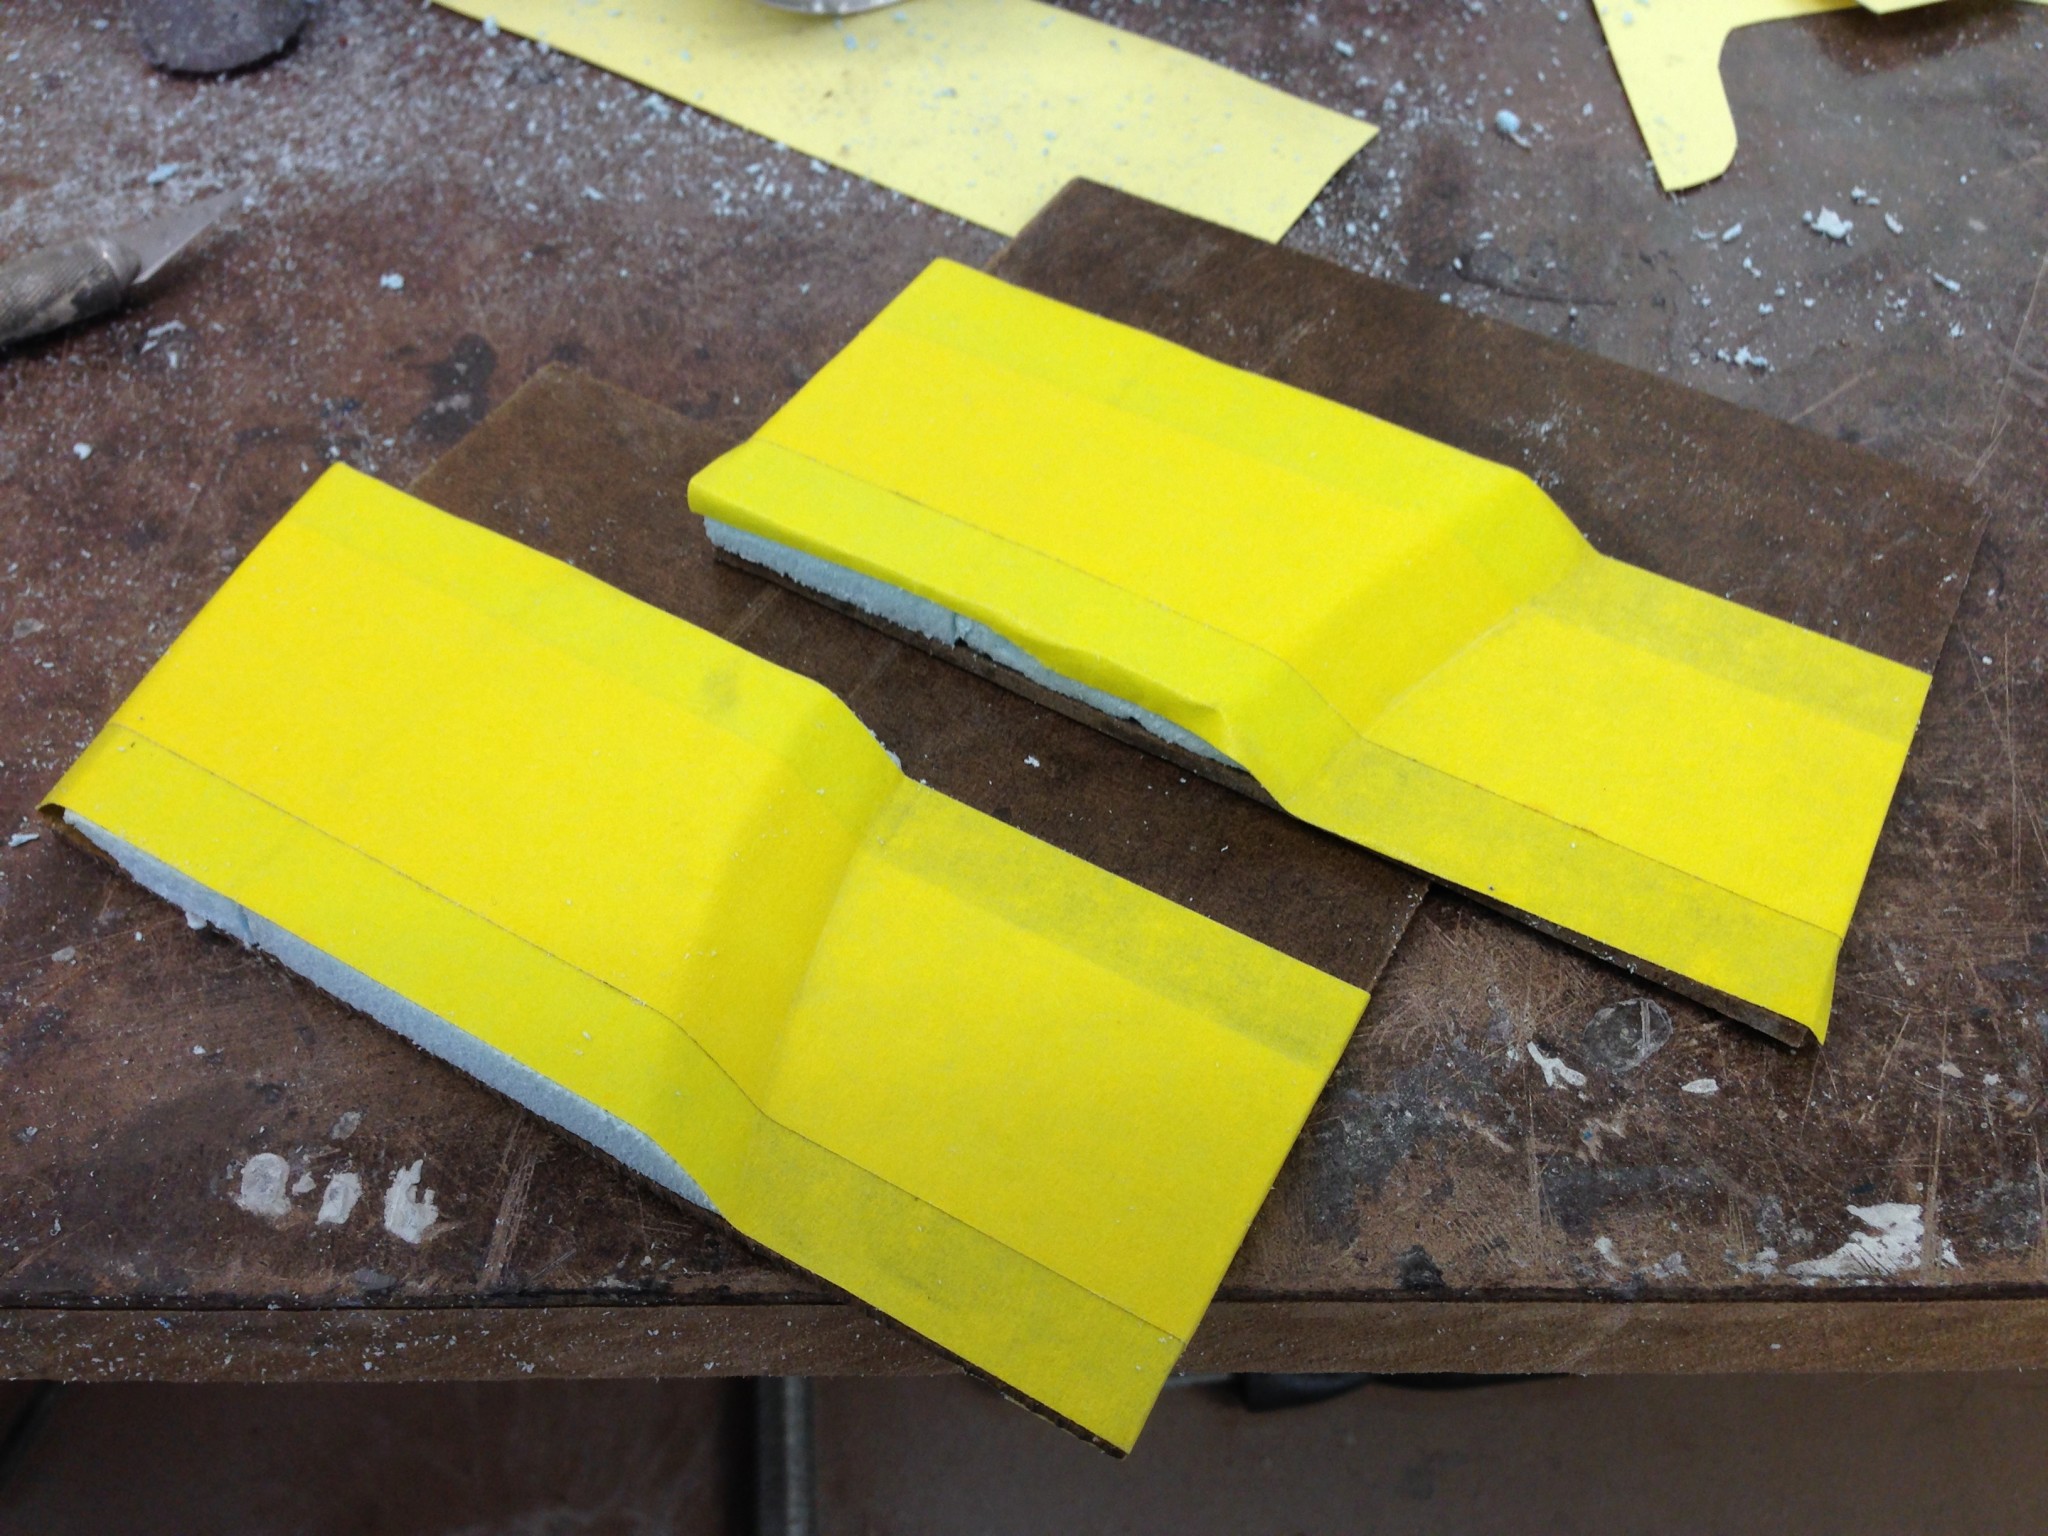
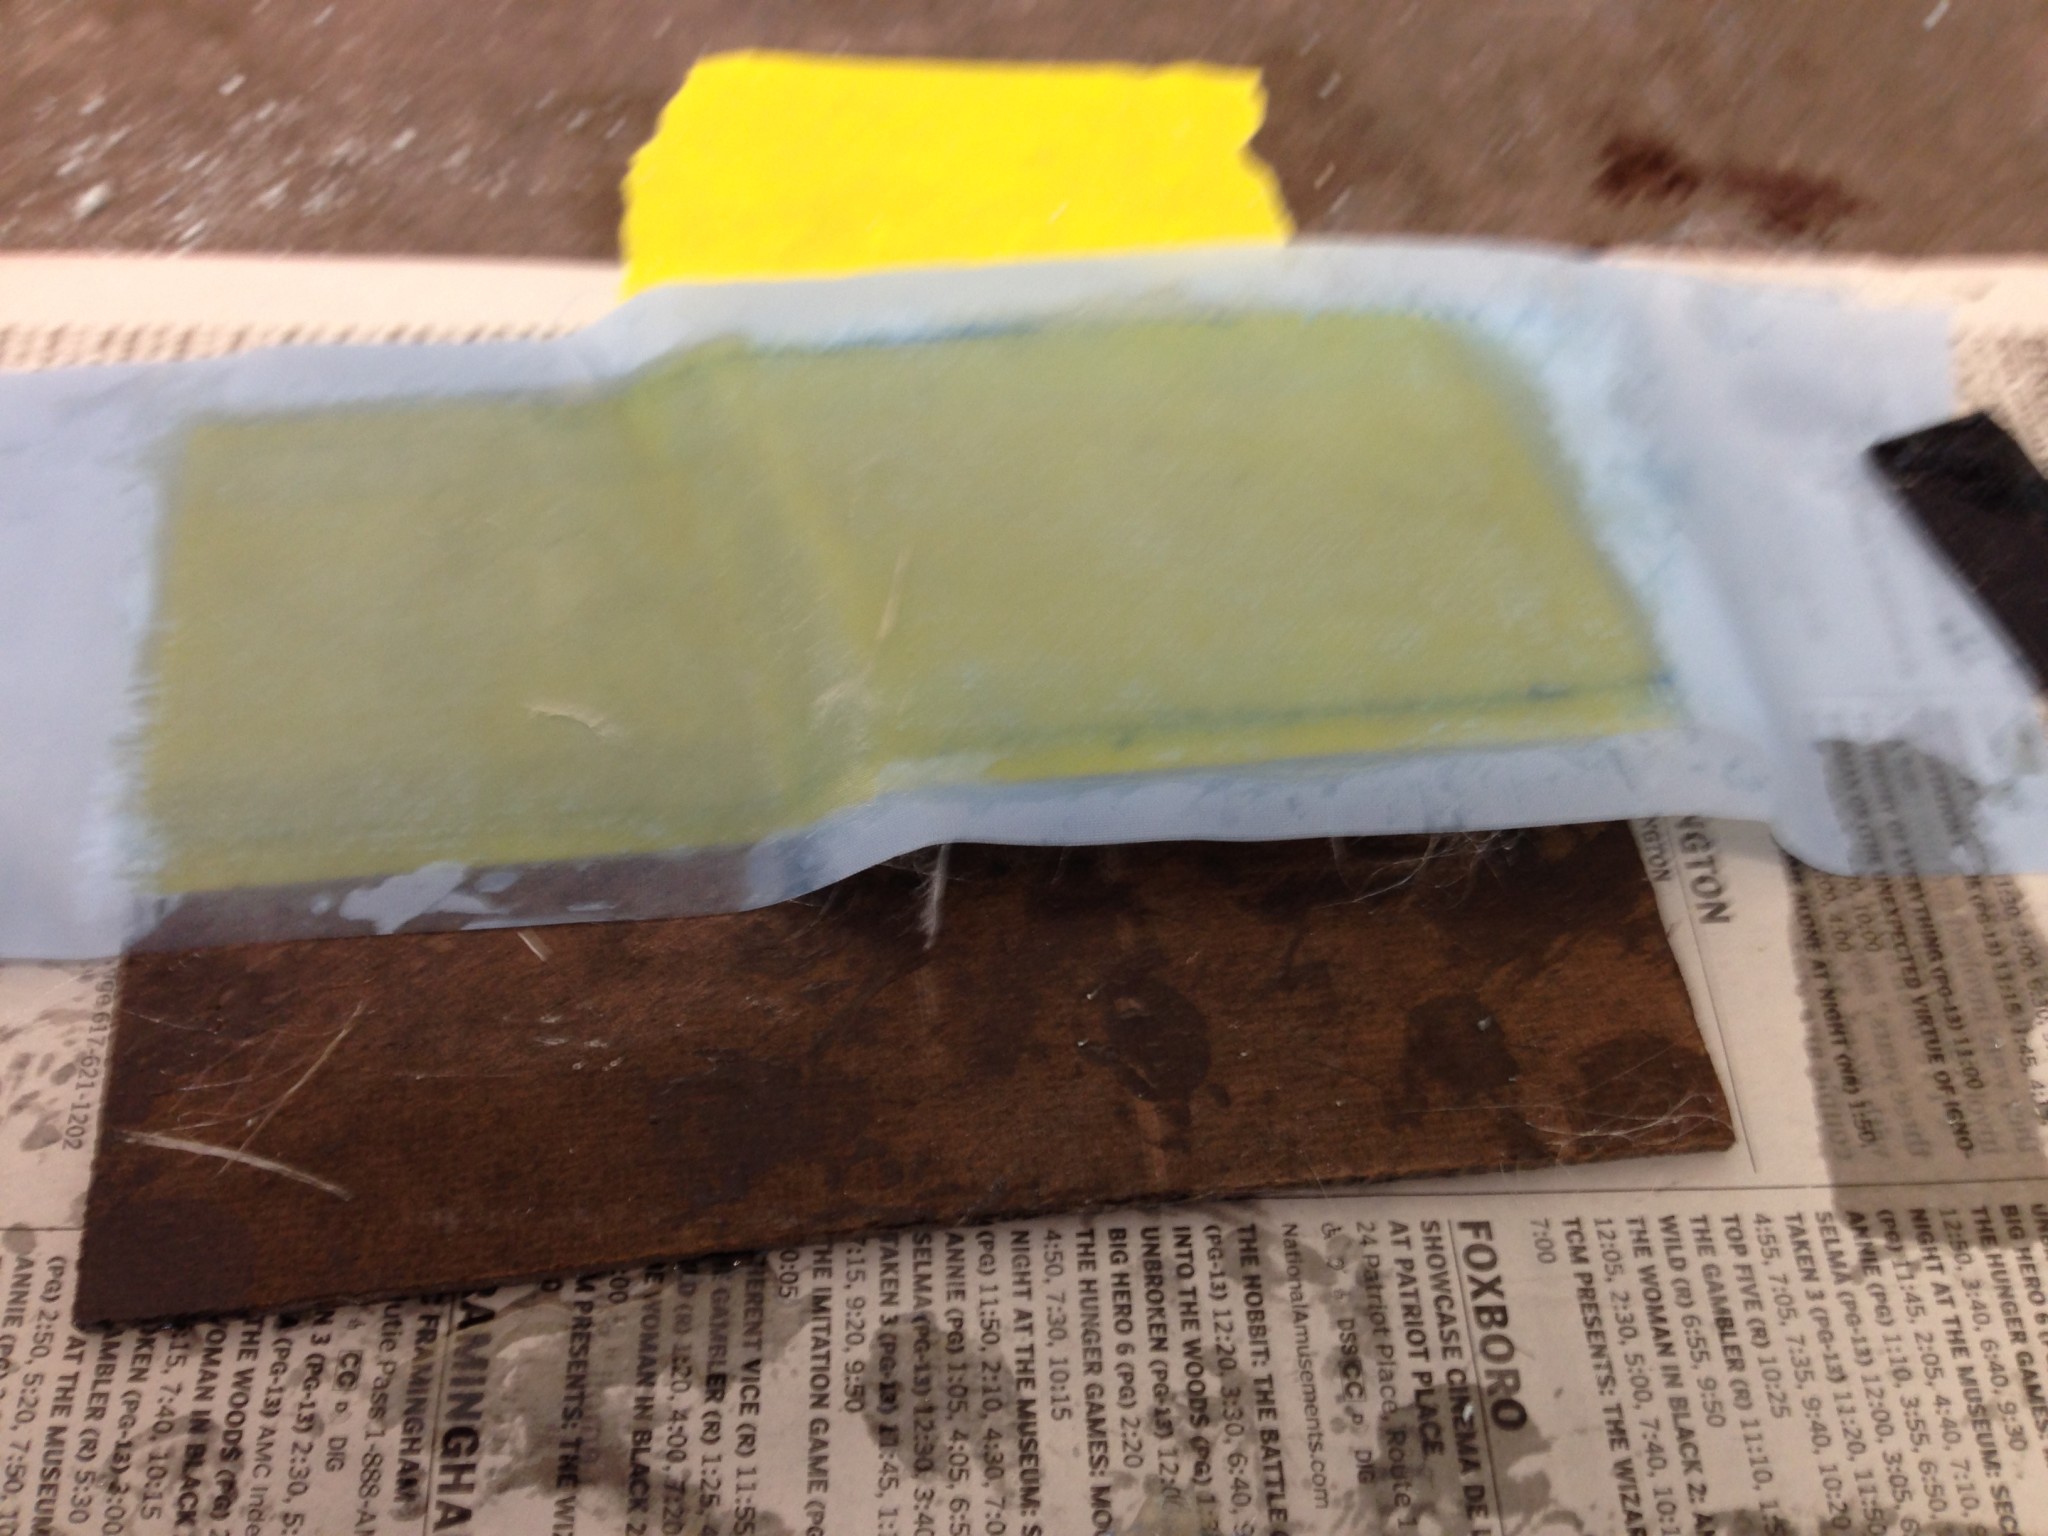
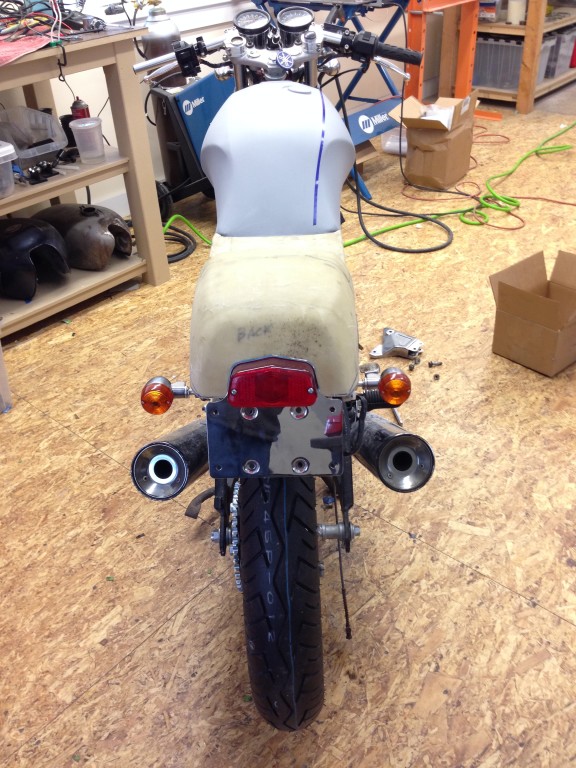
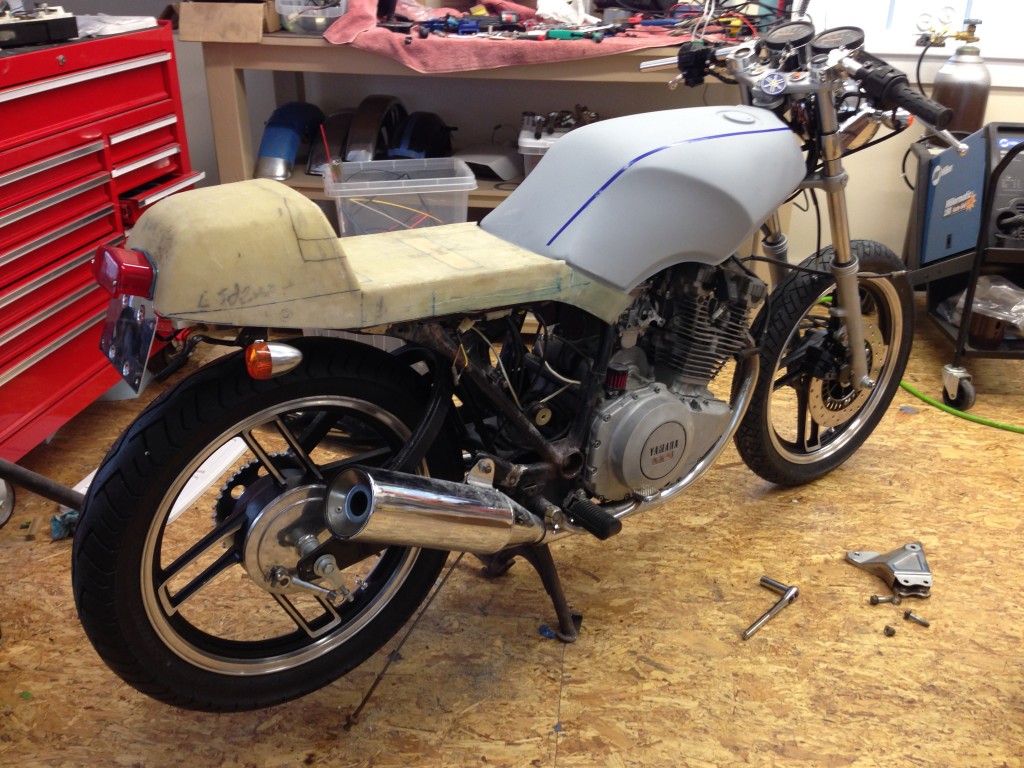
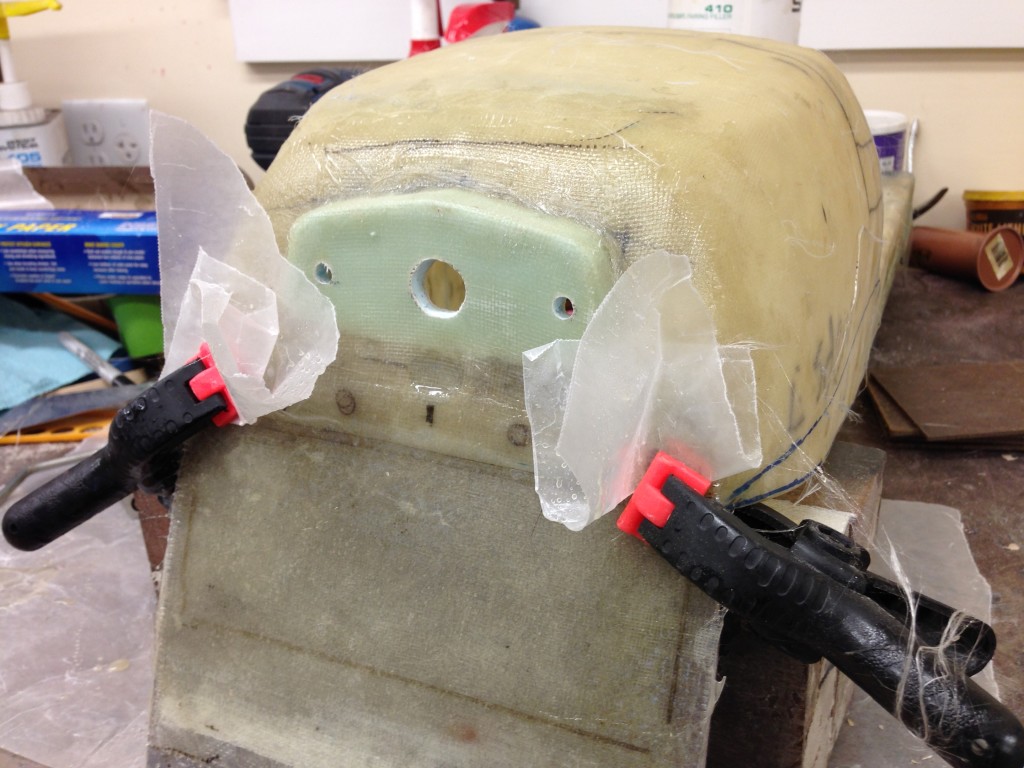
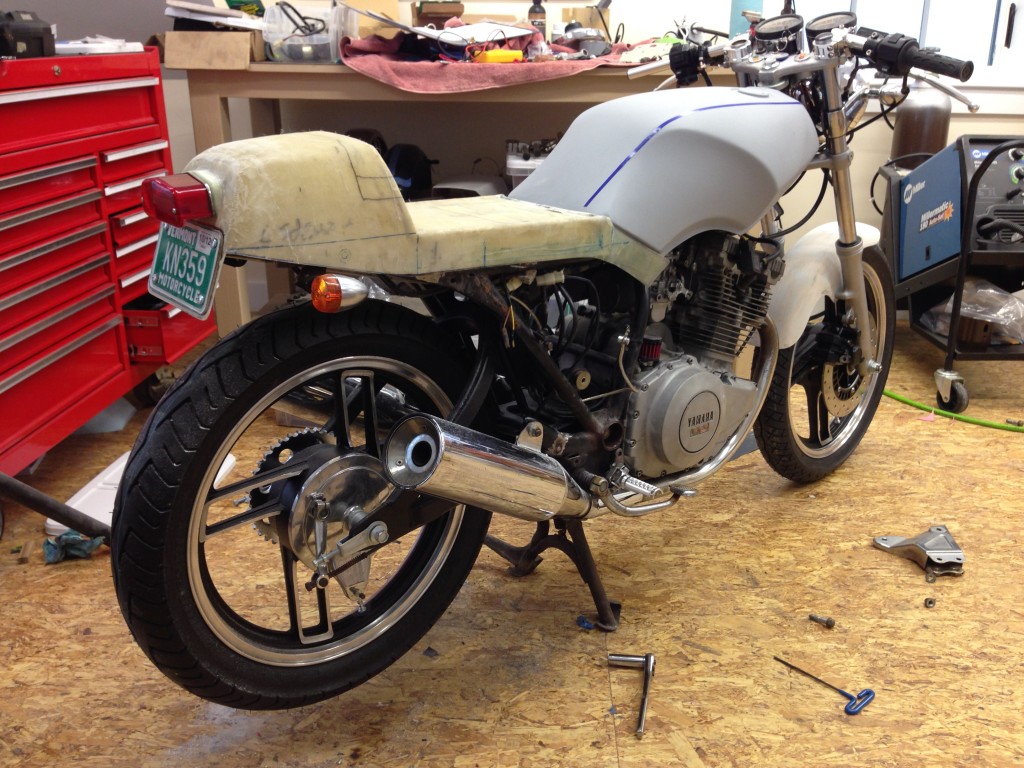
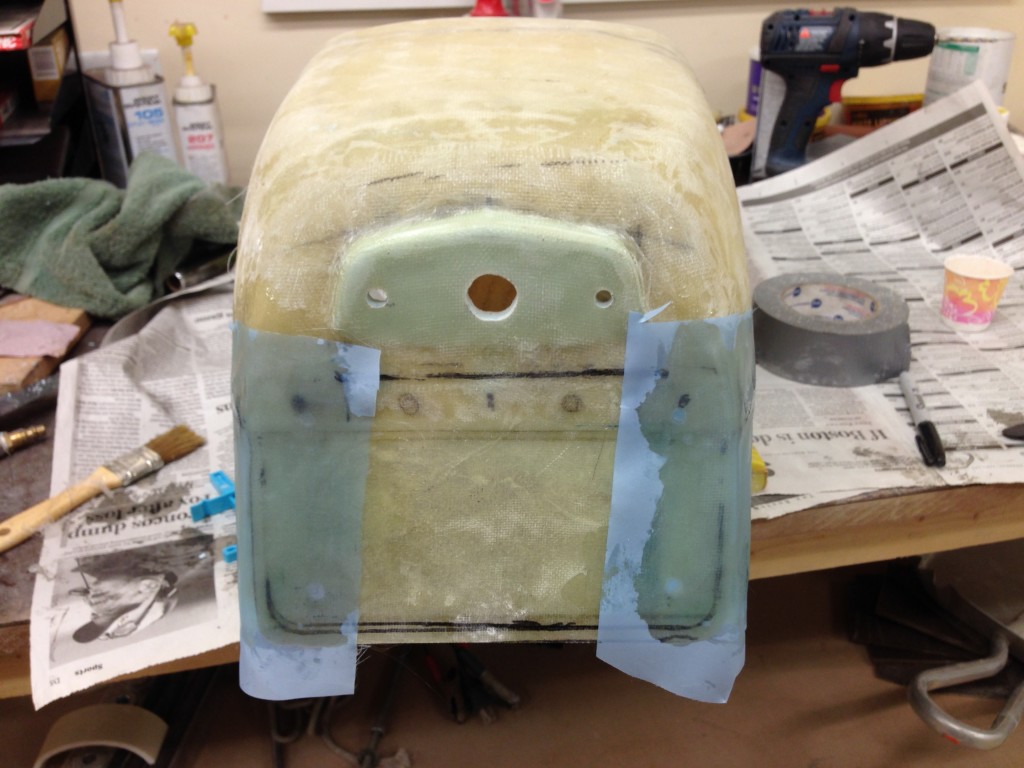
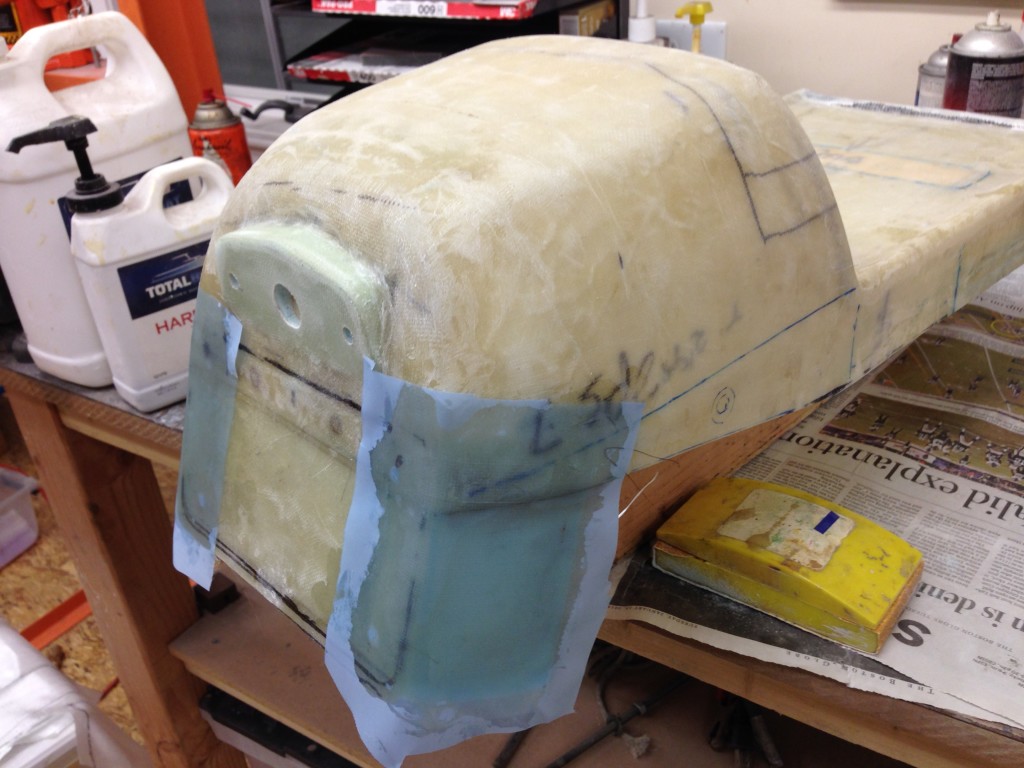
Primer

Applied a couple of coats of white primer on the body parts to seal the fiberglass and to allow me to see areas that need more attention before paint. I used white primer because I am planning to do a black and yellow paint scheme. Yellow doesn’t cover gray primer very well.

I had trouble locating white primer in quarts. The primer I’m using is this kit from TCPGlobal.

I also squared up the tip and tail of the front fender slightly to hopefully make it complement the angular gas tank shape a little better.

Frame Painting Jig

I’m getting ready to disassemble the bike for paint. While looking for ideas for a frame painting jig, I ran across a $20.00 attachment on eBay for an automotive engine stand and ordered one.  It seems to be just the ticket.

I modified the jig to work like the engine mount that came with the stand. This was done by drilling 8 holes for the rotation stop pin, 2 holes for the handle and welding an alignment stop to keep the holes in the stand and jig.

Seat Pan

The seat pan was made by first covering the seat area with masking tape and giving the tape several coats of wax. Four layers of fiberglass were then added and allowed to cure. After curing, the pan was removed and trimmed. With the pan in place 6 holes were drilled through the pan and seat for fastening bolts. I made the fastening bolts by welding the thread part of old allen head screws to fender washers. These were epoxied in place and covered with five more layers of fiberglass.

Taillight & Seat

I didn’t like the look of the Lucas Style taillight mounted directly to the back of the seat. Having the taillight tipped upward looked “shade tree” to me, so made holders for both the taillight and license plate.

After seeing the license plate mount, I decided to add sides to better integrate it into the seat. I tried a bunch of ideas for blending the seat and license plate bracket together –  the bottom of the seat was trimmed to expose a portion of the top frame rail all the way back to the end of the frame.

Headlight

Purchased a British style headlight from MikesXS . There’s only one hole for wiring, which was not nearly big enough for all of the wires and connectors to fit though.  I made a pattern and used it to locate spots for two additional wiring holes.  The holes were drilled undersize using a circular hole saw and handheld drill.  I enlarged the holes to fit grommets (from  the local hardware store) using a die grinder. All of the wiring now fits in headlight.