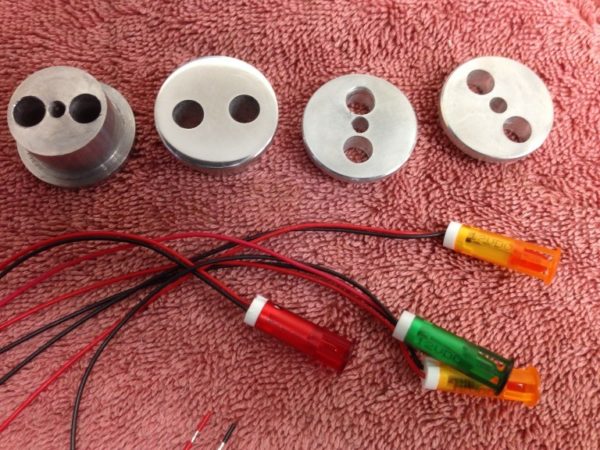
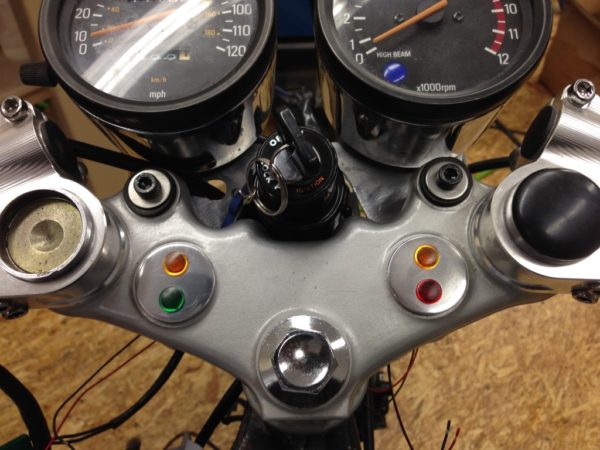
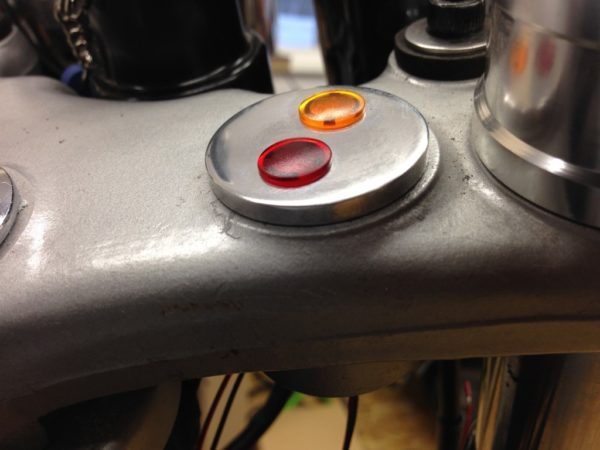
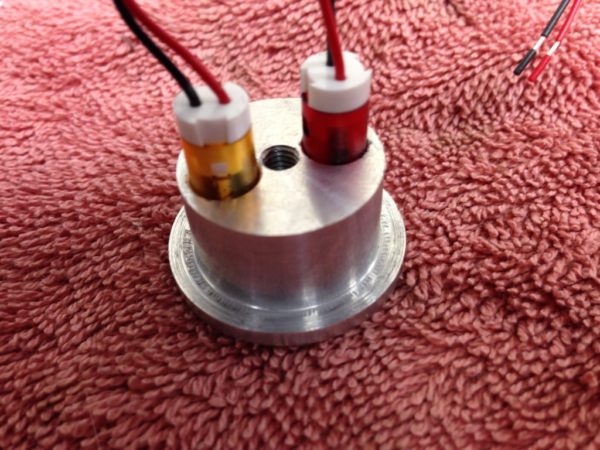
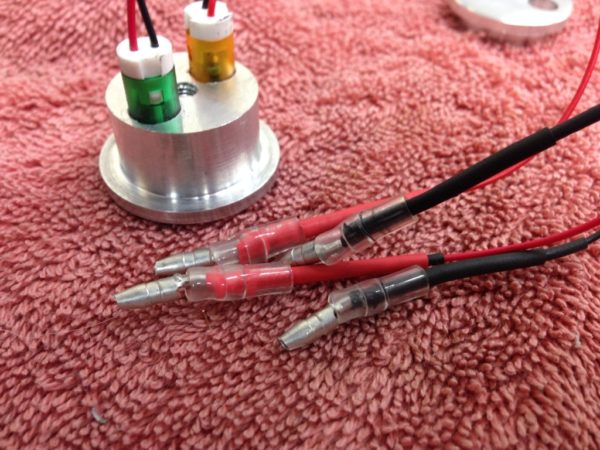
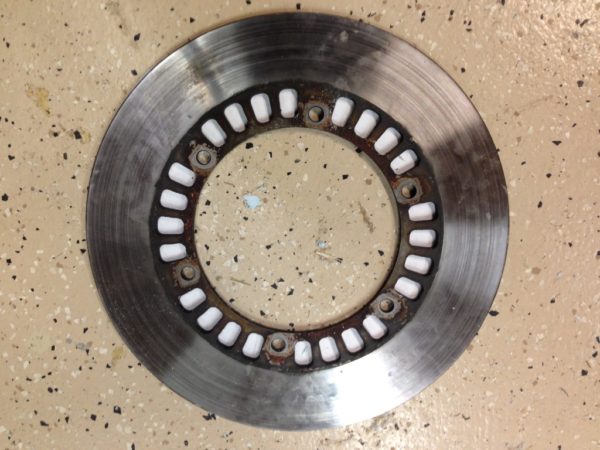
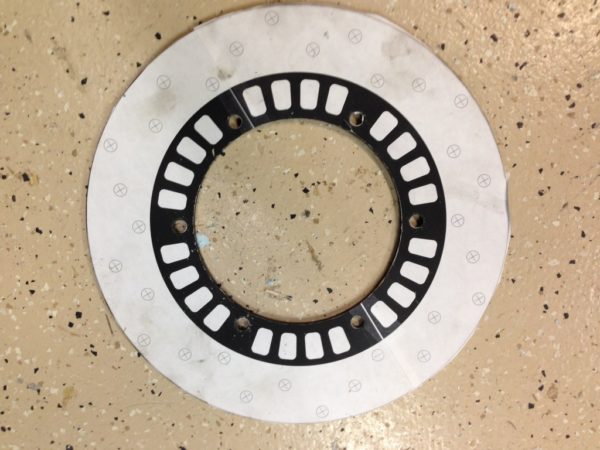
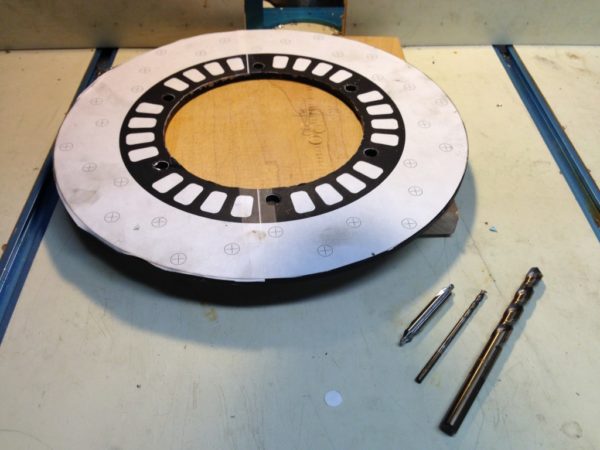
The LED’s that I ordered arrived. They’re the same ones I used on the SR250. Here are the mounts that I made from 1.25″ aluminum rod. The LED is a press fit into the top mount which is threaded. The bottom mount has a through hole and holes for the wires.
Yamaha XS400
Gauges
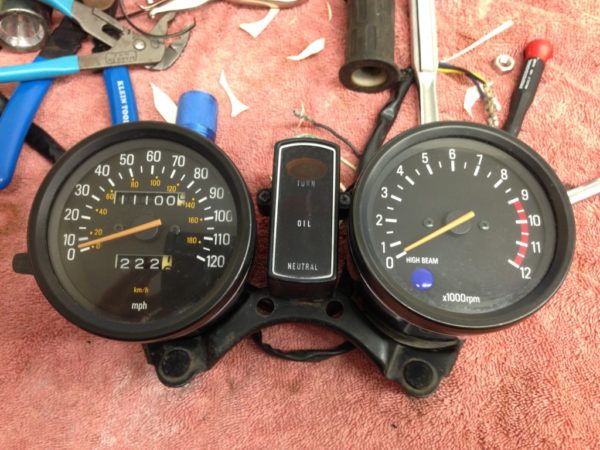
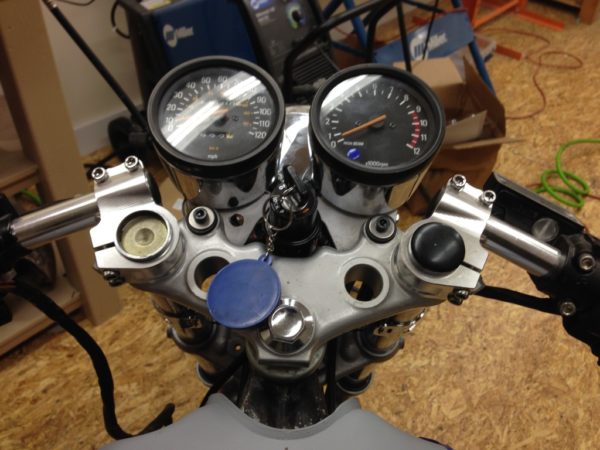
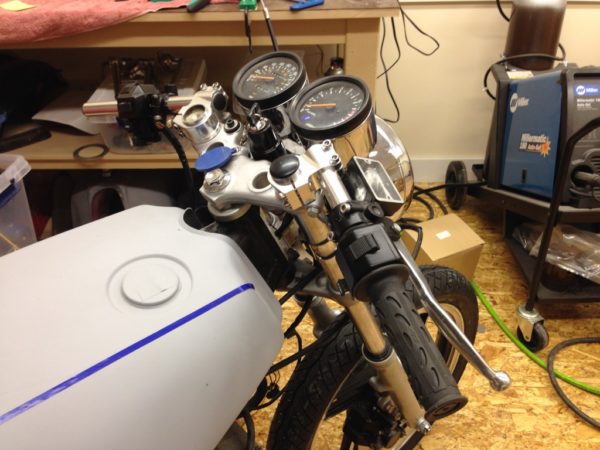
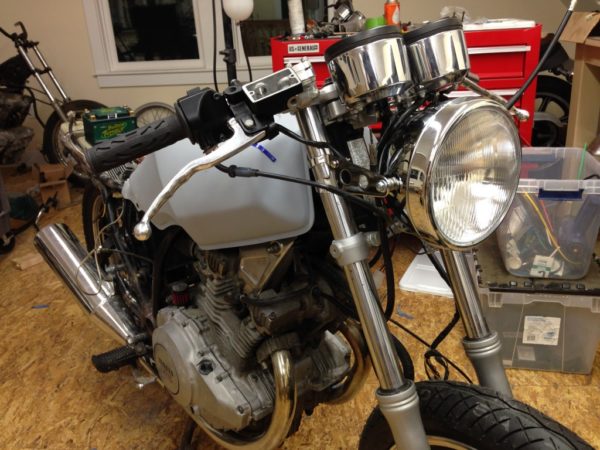
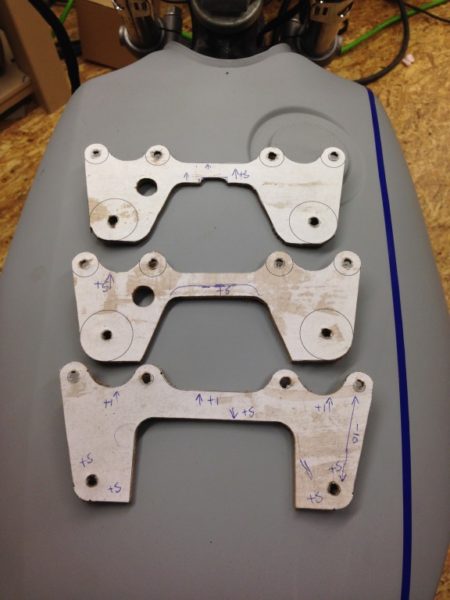
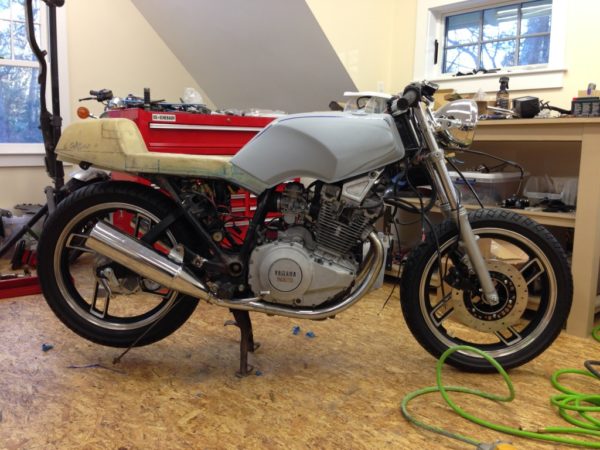
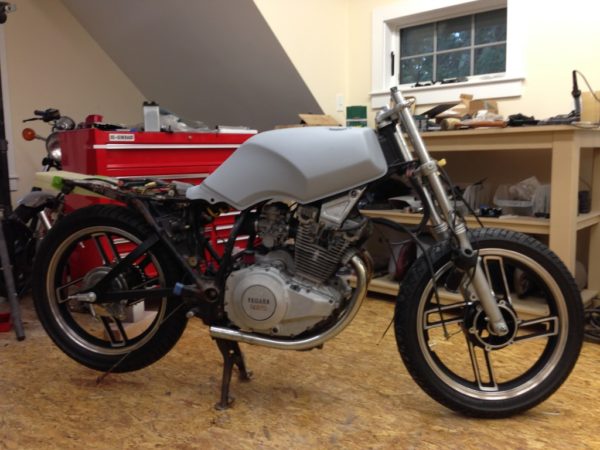
I am using the round chrome gauges from a 1978 XS400 in place of the rectangular plastic cluster that was originally on the 82 XS400. I made a new bracket for the speedo and tach. The gauges are mounted about 2″ lower.
I plan to make plugs to fit in the holes for the handlebar bushings and fit LED’s into them for the neutral, turn, engine lights. The high beam indicator in the tachometer will be preserved.
Mufflers
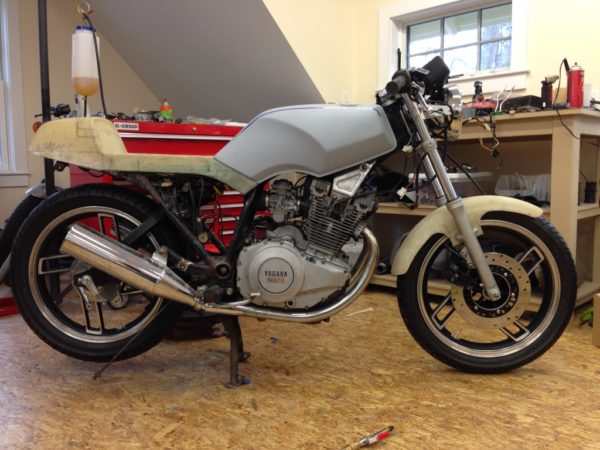
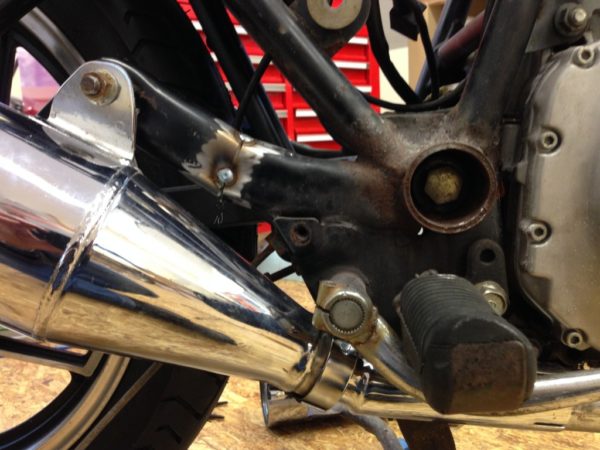
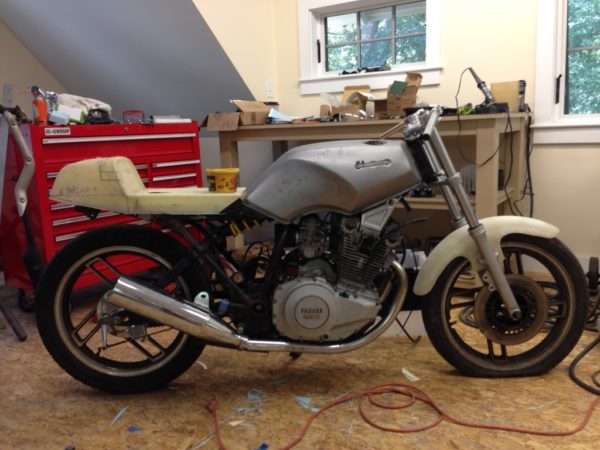
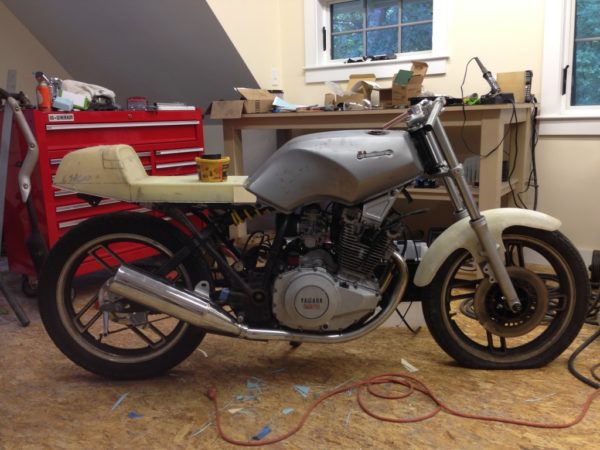
The mufflers are from a Yamaha XY600 Radian. They are fitted to the original headers using Emgo Upswept Muffler Adapters.
Electronics Relocation
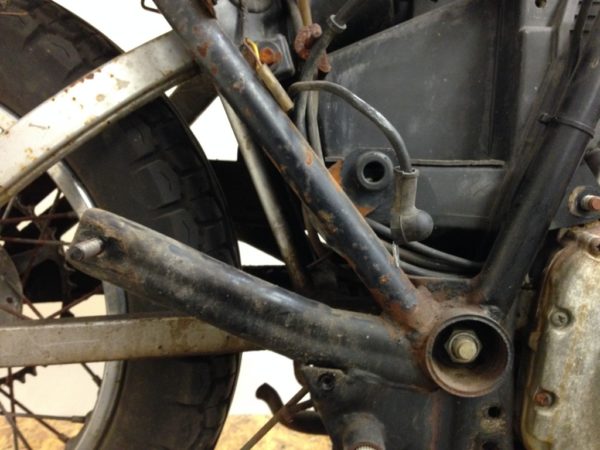
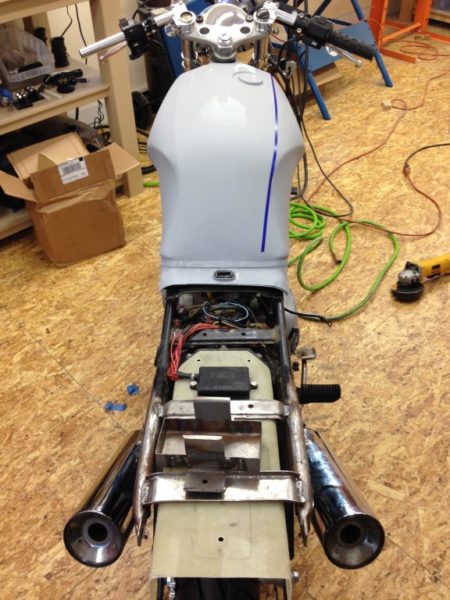
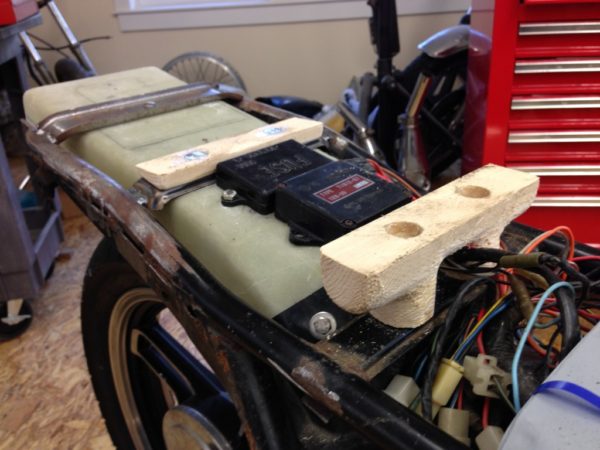
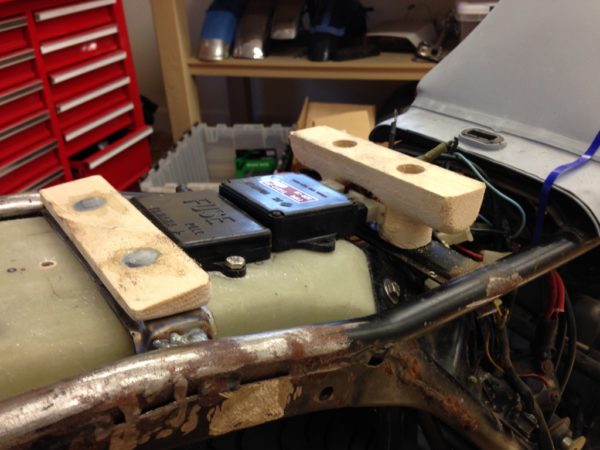
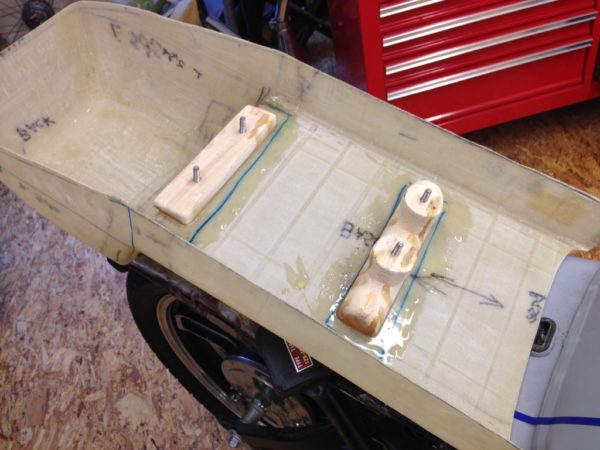
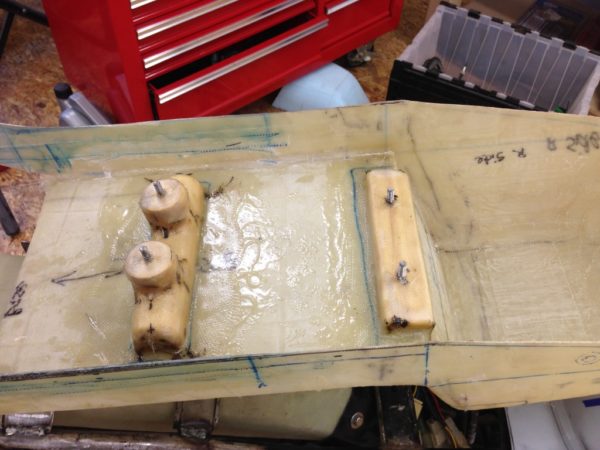
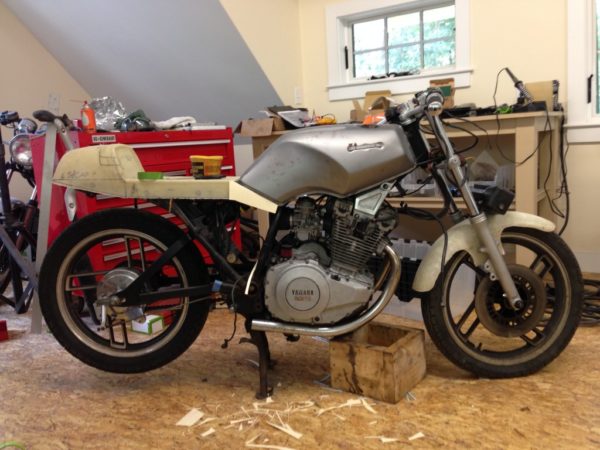
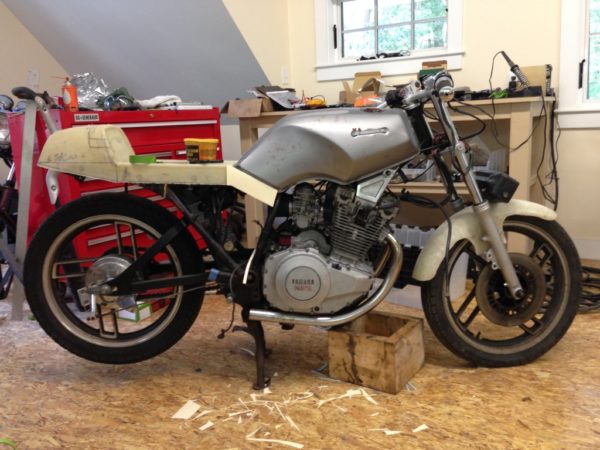
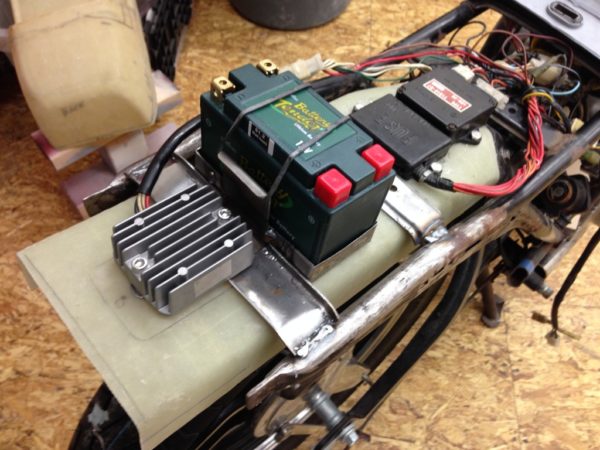
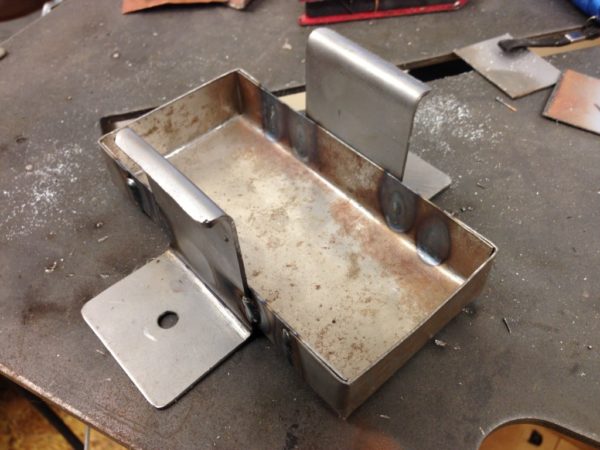
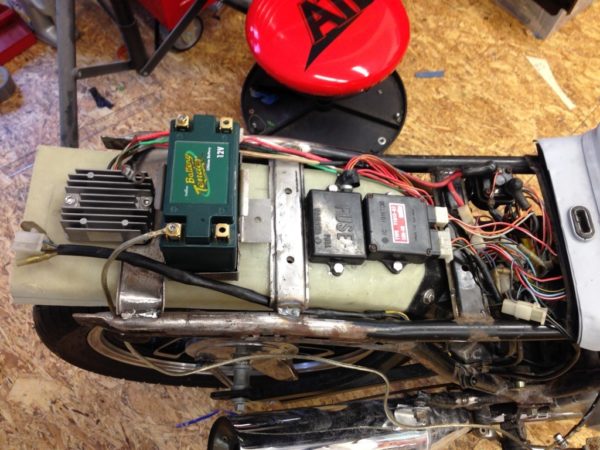
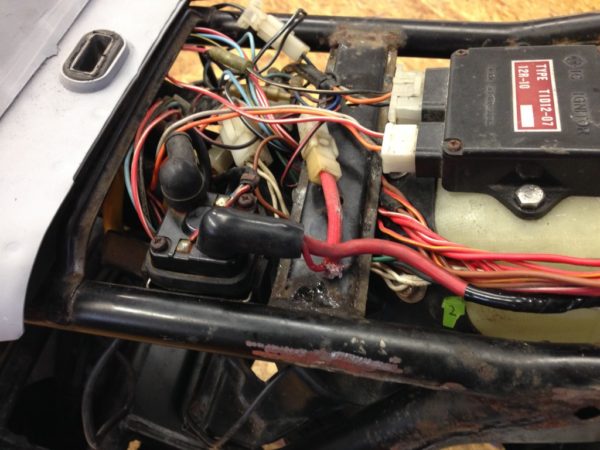
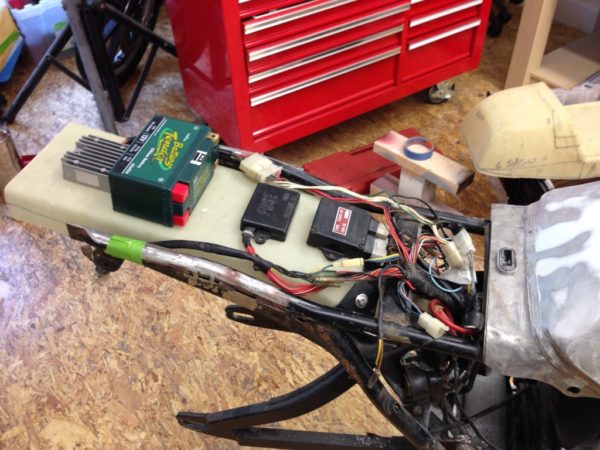
The CDI, fusebox, battery box, started solenoid and regulator/rectifier have been relocated from within the frame to beneath the seat. A bracket for the starter solenoid was welded to the frame. Everything else is mounted above the fiberglass fender.
The wiring to the regulator/rectifier had to be reworked to move the connector adjacent to the battery box. The connector was in the was in the way of the rear seat bracket.
Mounting the Electrical Bits
With my SR250, I didn’t think about mounting the electrical components until the seat and tank were in place. This made mounting the components more difficult than it needed to be. For this bike, I’m getting this stuff sorted early.
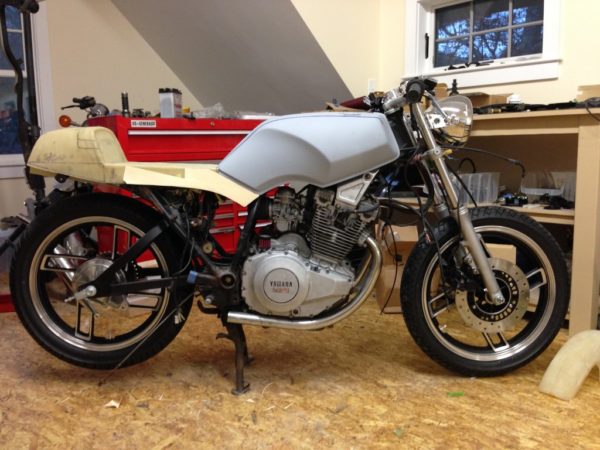
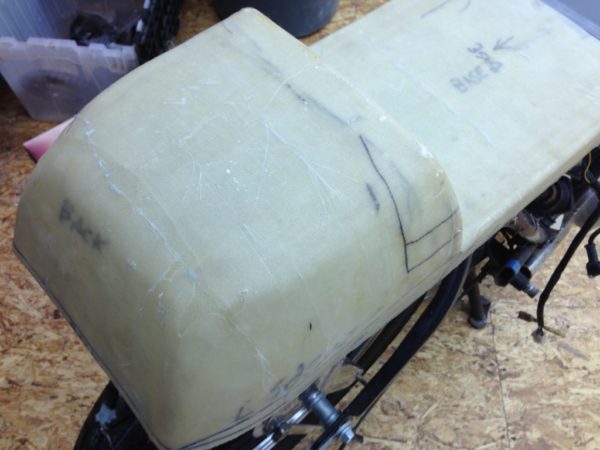
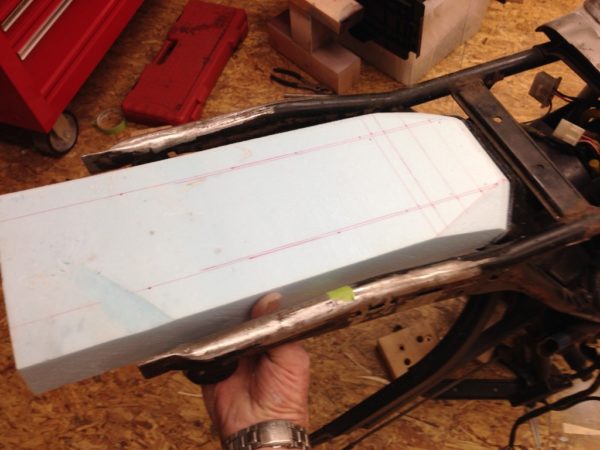
The stock rear fender didn’t fit under the seat and had a raised mounting spot for the fuse panel. I cut the stock fender back to allow a flat fender to be attached to it. It is low enough to allow the electrical bits to mounted it and fit beneath the seat.
